

The following section takes you through a closed, pre-scrotal castration procedure that is used at our WVS training centres.
Timestamps:
00:07 - Instrumentation
00:42 - Incision
01:16 - Ligament separation
02:00 - Clamping & first ligature
03:49 - Second ligature
04:53 - Testicle excision
05:35 - Closure of the subcutaneous tissues
08:34 - Subcutaneous knot burrial
09:01 - Intradermal skin closure
13:20 - Aberdeen knot
Removal of the testes
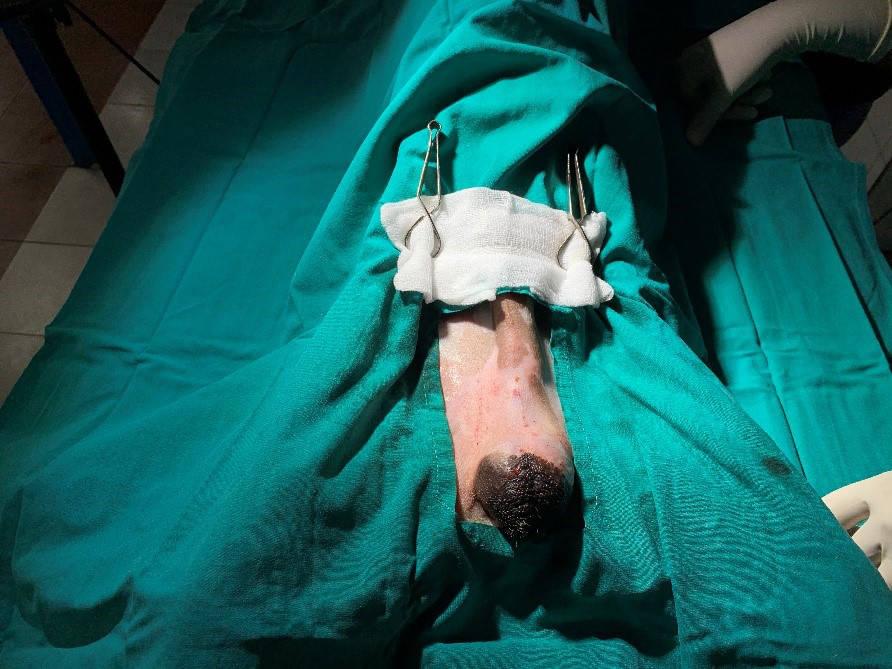
Correct drape position. Place the fenestrated drape in the pre-scrotal area, which includes the scrotum within the window (Figure 1). Secure a sterile swab over the preputial area and penile body so as to ensure no urine or other discharges contaminate the surgical field.
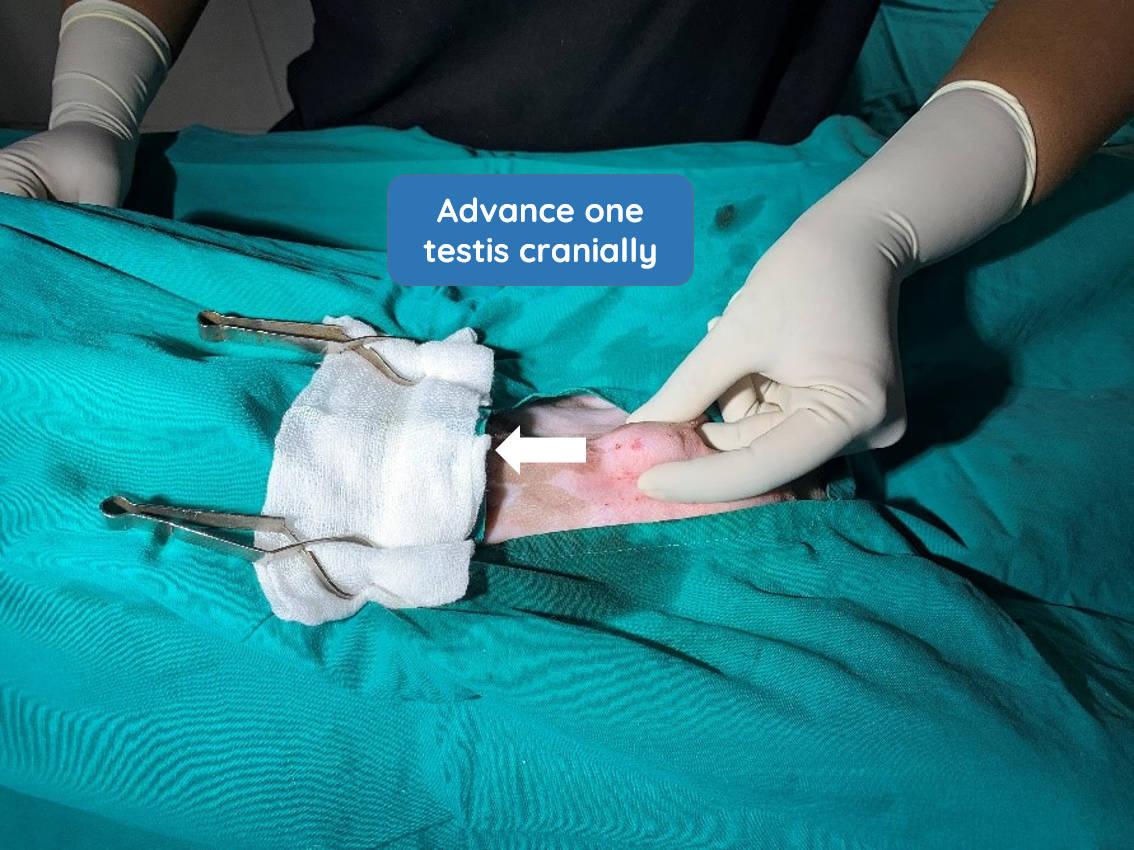
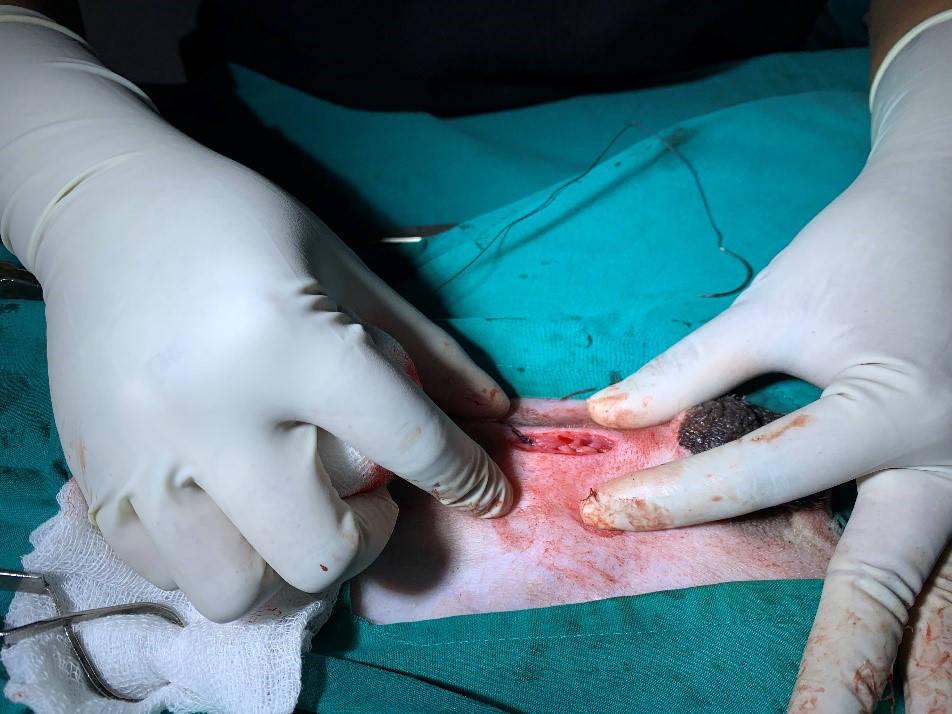
Advancement of testis. Using your middle finger, gently apply pressure at the caudal end of one testis to advance it into the midline of the pre-scrotal area (Figure 2, arrow). Stabilise it in this position using your index finger and thumb.
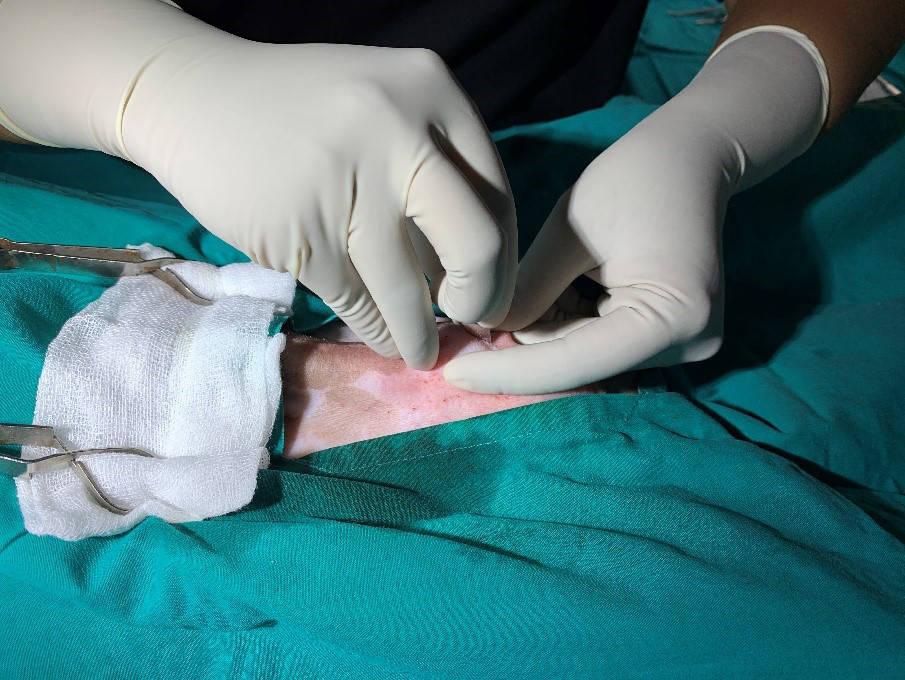
Incise the skin. Using a 22g scalpel blade, make an incision over the testis, staying on the midline. The incision should be 3/4 the size of the its length.
Incise the spermatic fascia. As this is a closed castration, the parietal vaginal tunic should remain intact (Figure 4).
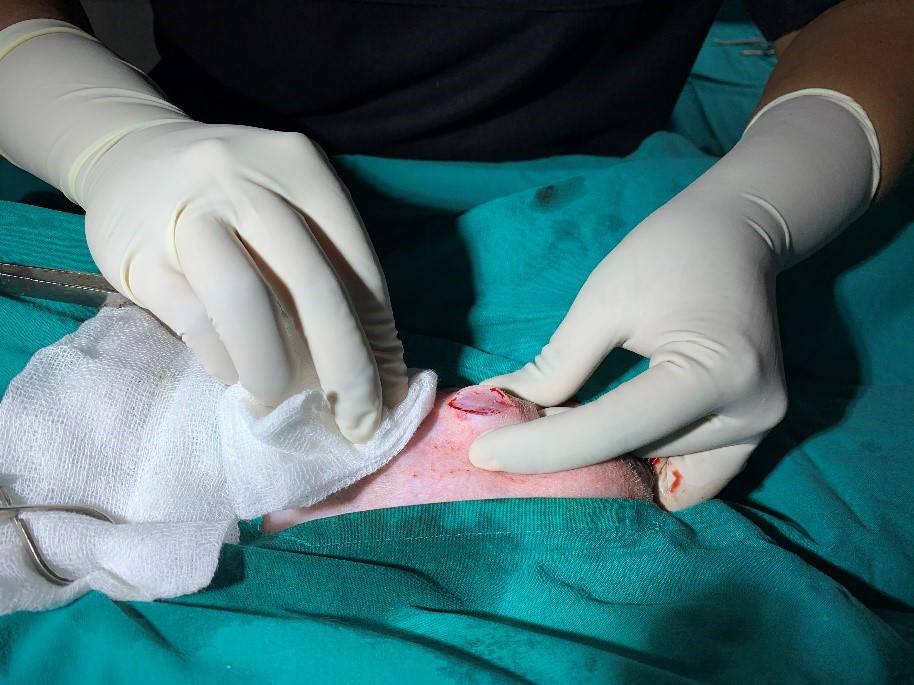
Exteriorise the testis. Gently exteriorise the testis through the incision by placing the index finger and thumb of both hands on either side of the incision and under the testis to gently moving it up through the incision (Figures 5 and 6).
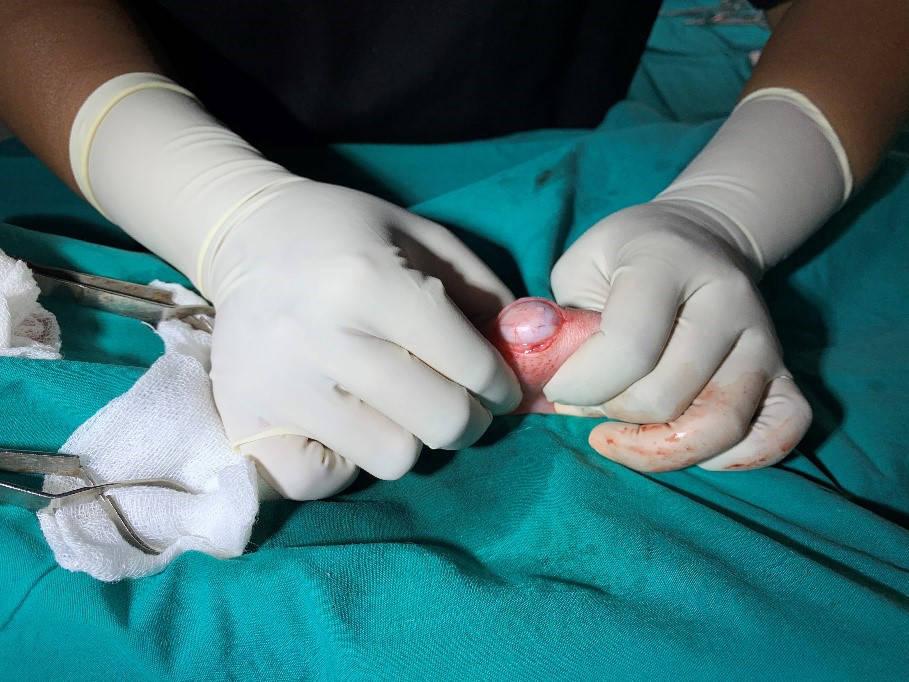
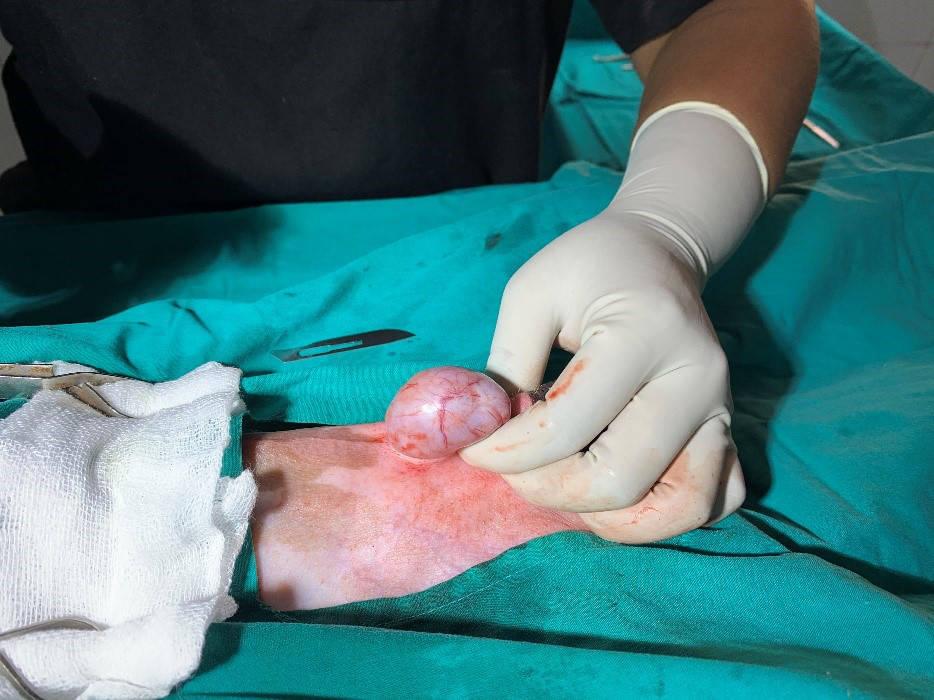
If required, extend the incision to exteriorise the testis.
Break the scrotal ligament. Using a swab, hold the gubernaculum or the scrotal ligament at the caudal aspect of the testis (Figure 7).
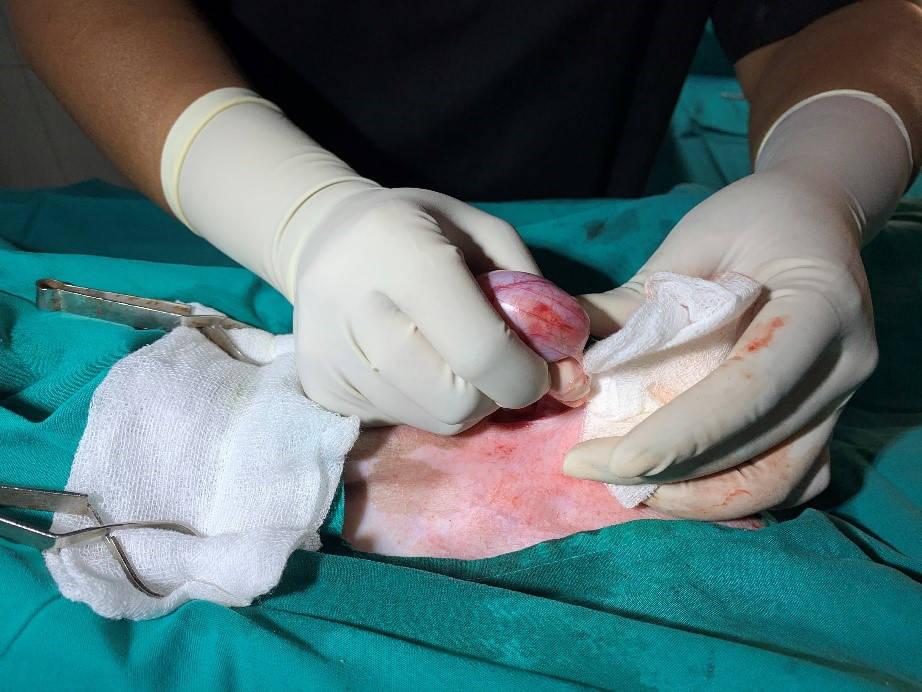
Hold the scrotal ligament securely with the swab and use your fingers to breakdown its fibrous connective tissue, separating it fully from the testis. This is easy in younger dogs compared to older animals as there is less connective tissue. It is helpful to tear the ligament at its point of attachment closest to the testis.
Fully exteriorise the testis. Gently pull the testis cranially to expose the spermatic cord and release the testicle from its attachment to the scrotum (Figure 8, arrow).
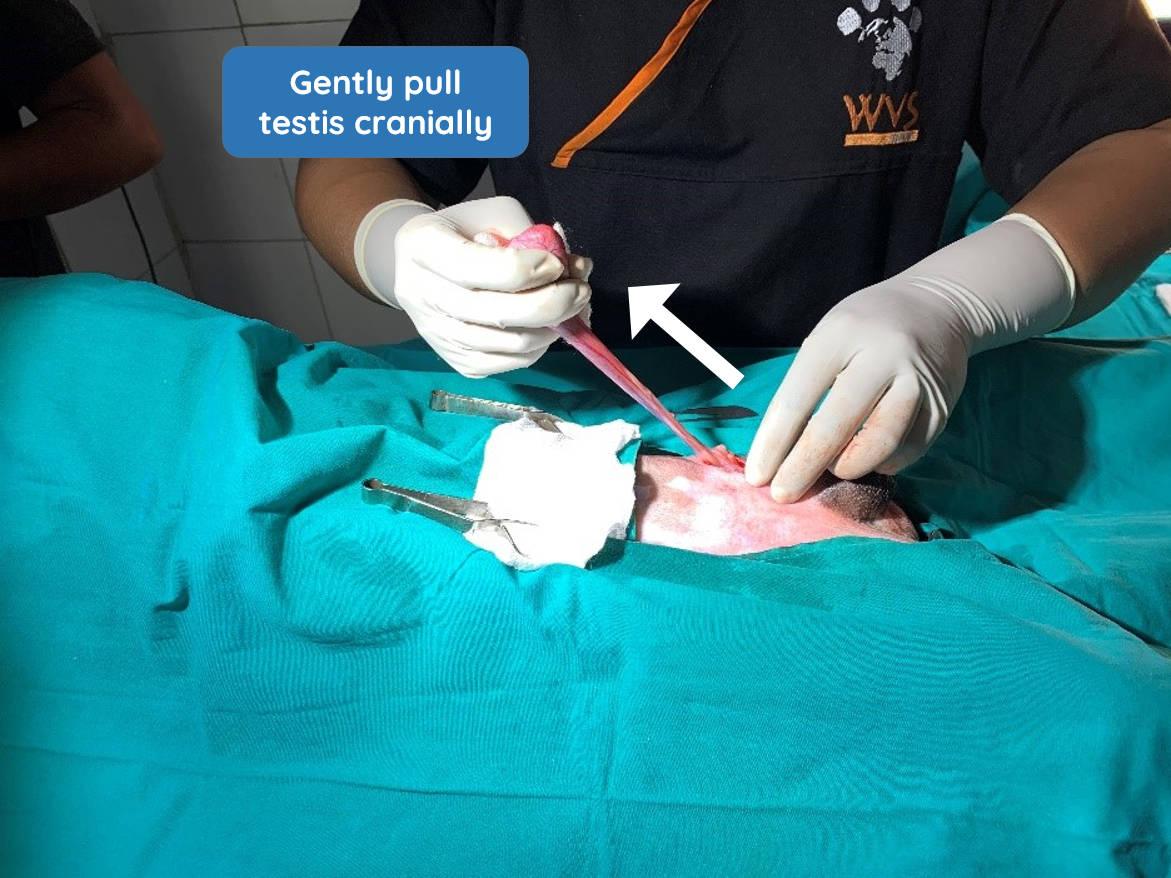
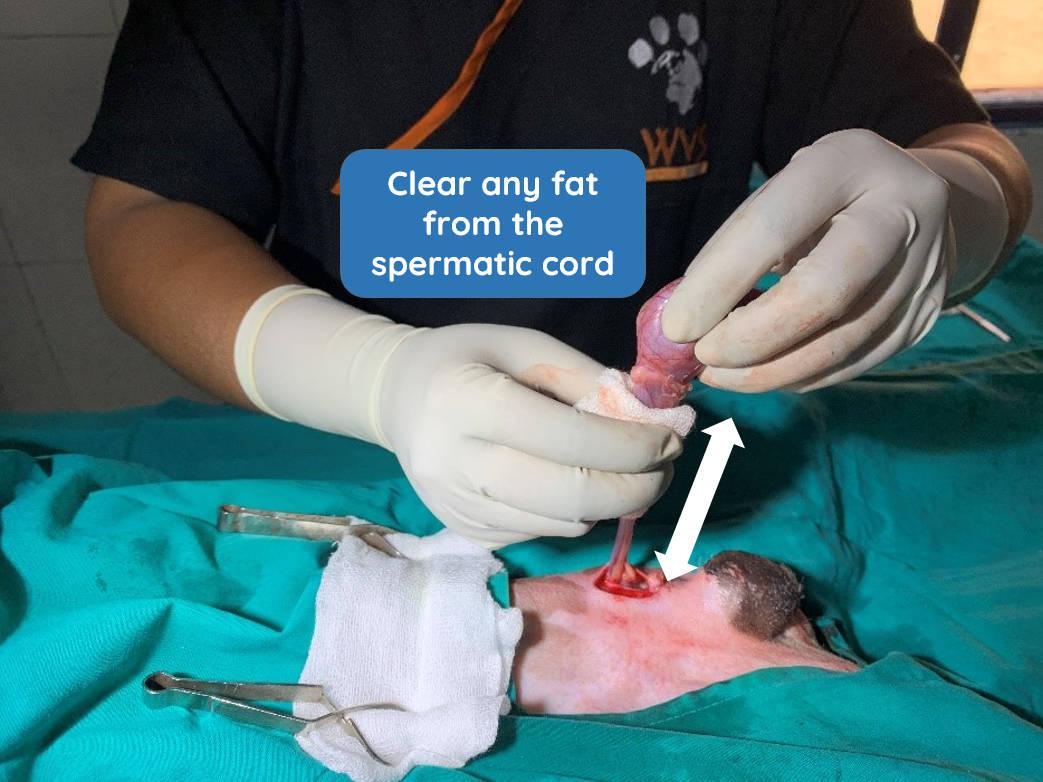
Using a clean swab, clear any fat that is adhered to the spermatic cord (Figure 9). This is an important step to ensure the ligatures that you are about to place will be tight and secure.
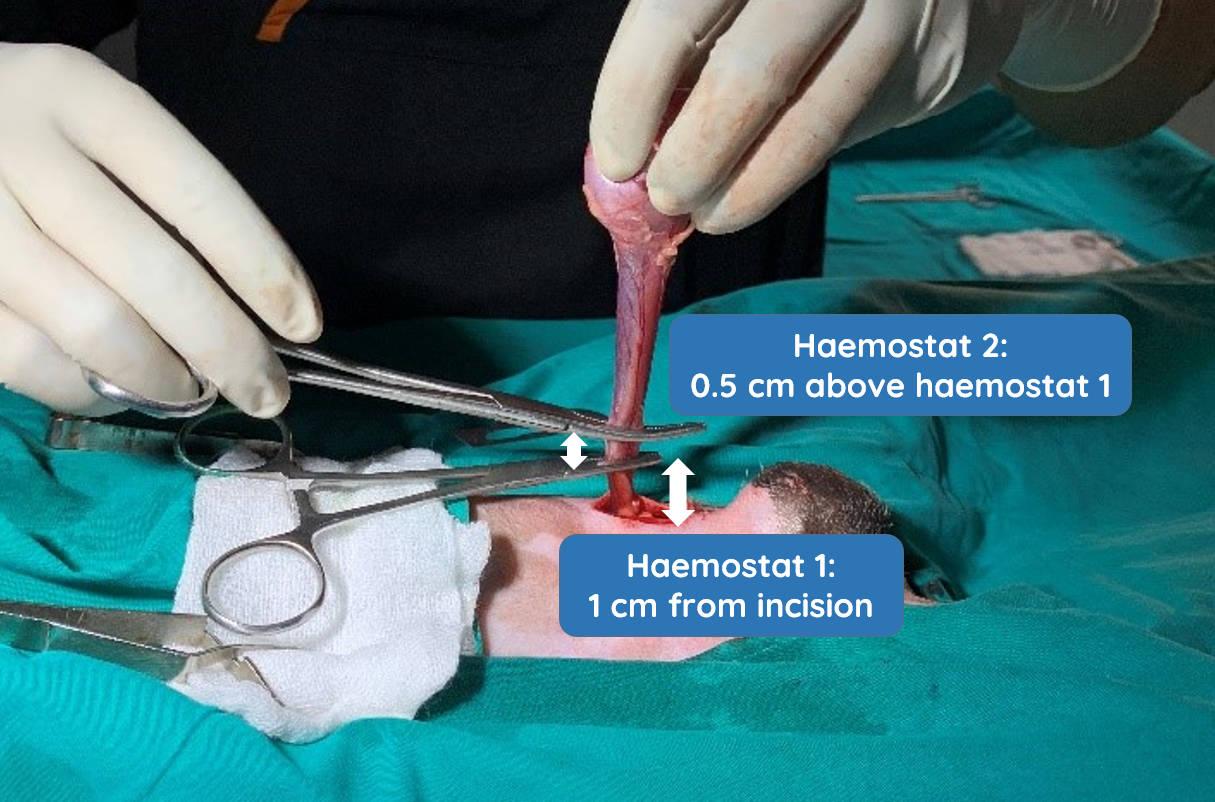
Place ligatures. Place the first haemostat approximately 1cm from your skin incision, and the second haemostat 0.5cm above the first haemostat (Figure 10).
Using an appropriate suture material, such as 1-0 catgut, place a secure, square knot 0.5 cm distal to the first haemostat. Follow this with a total of 6 square knots to secure the ligature (Figure 11).
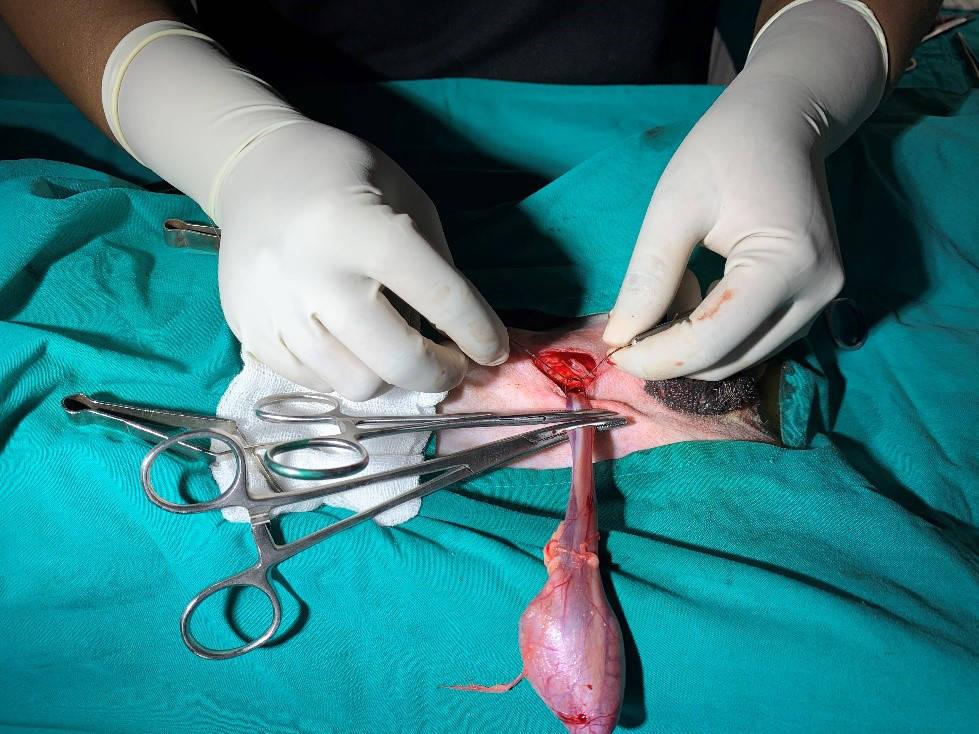
Place a second ligature over the lower haemostat (Figure 12).
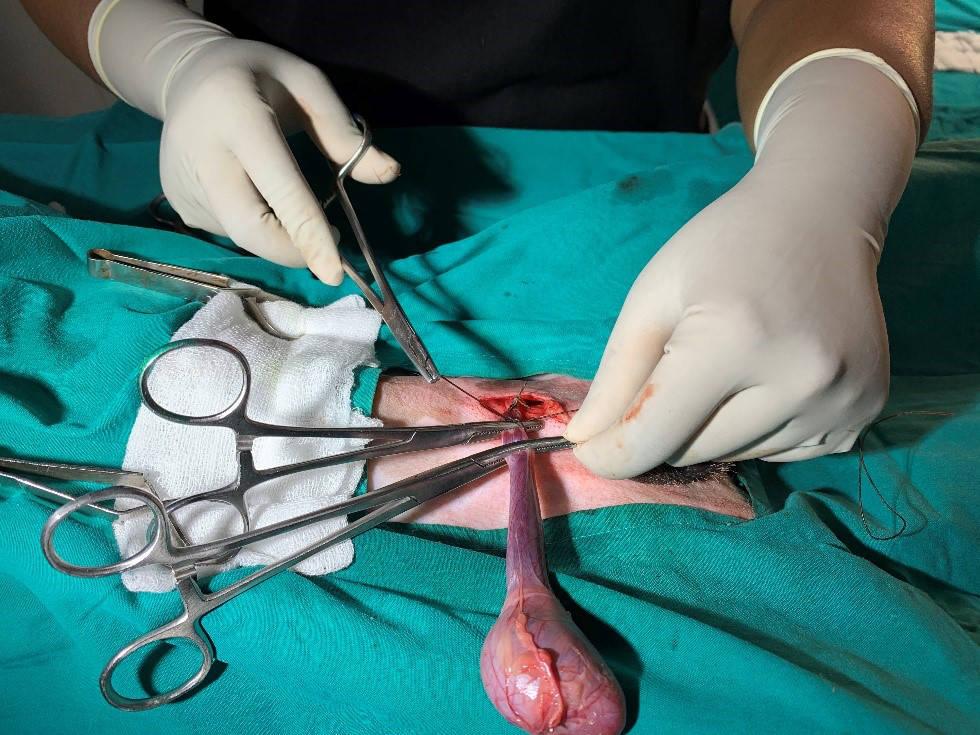
Before tightening the knot, remove the lower haemostat so that the knot is tied in the crushed area (Figure 13). Securely tighten it, then place a further 5 throws. You will now have two secure ligatures.
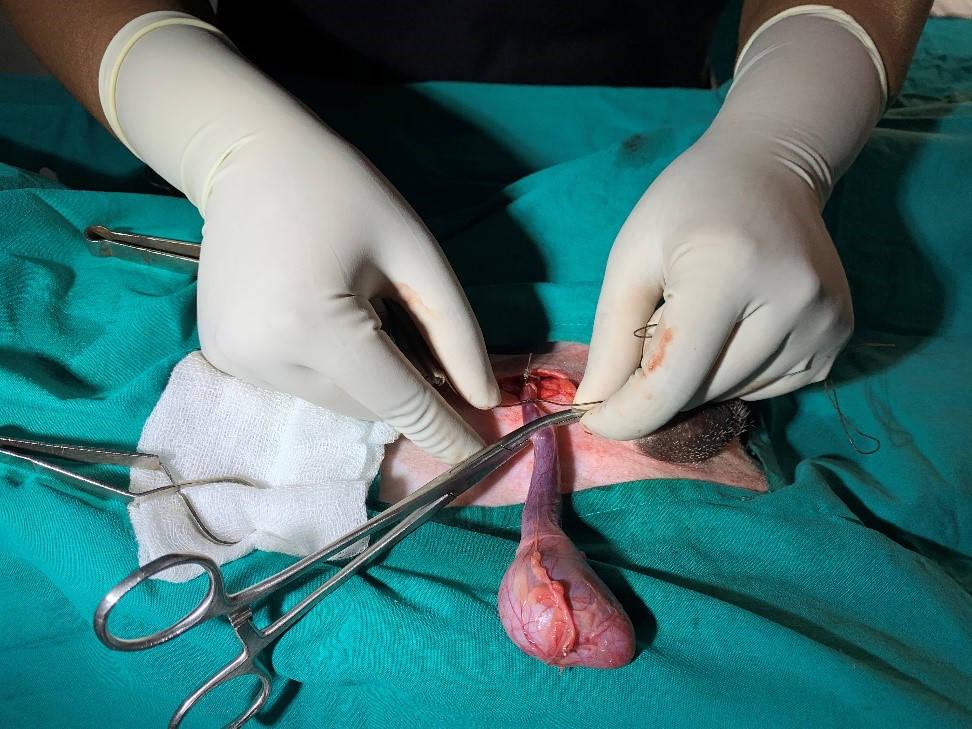
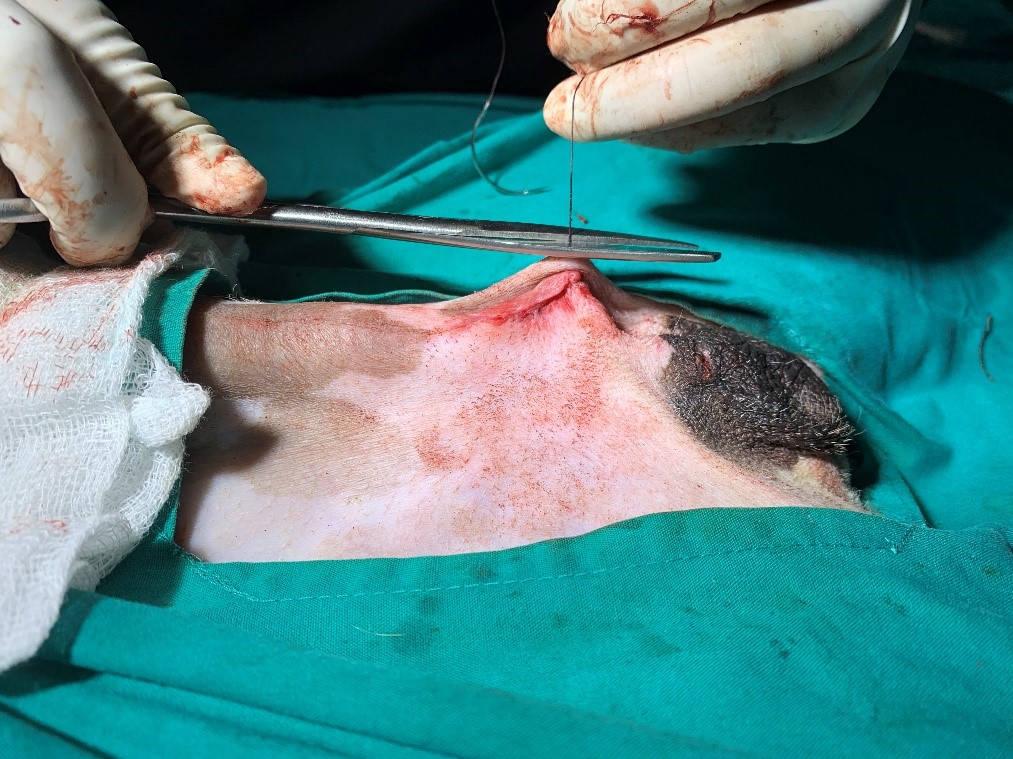
Remove the first testis. Place a haemostat above the two ligature. Use a scalpel blade to cut between the two hemostats (Figure 14).
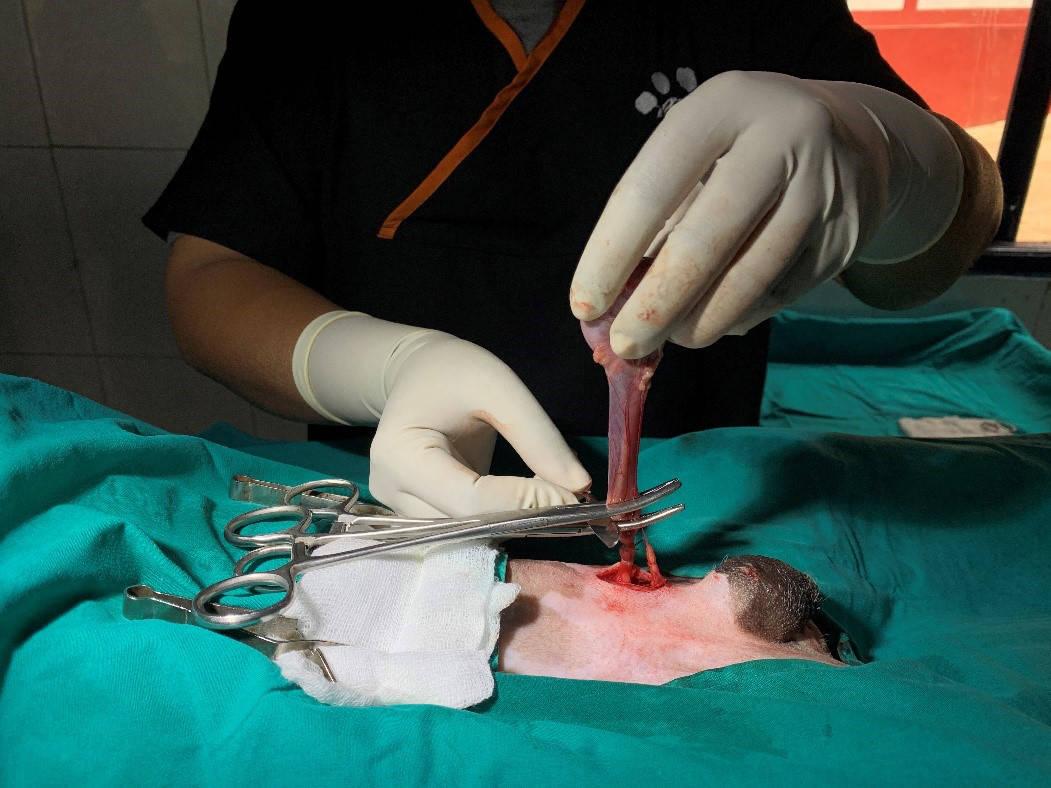
The stump is still held by one set of haemostats (Figure 15).
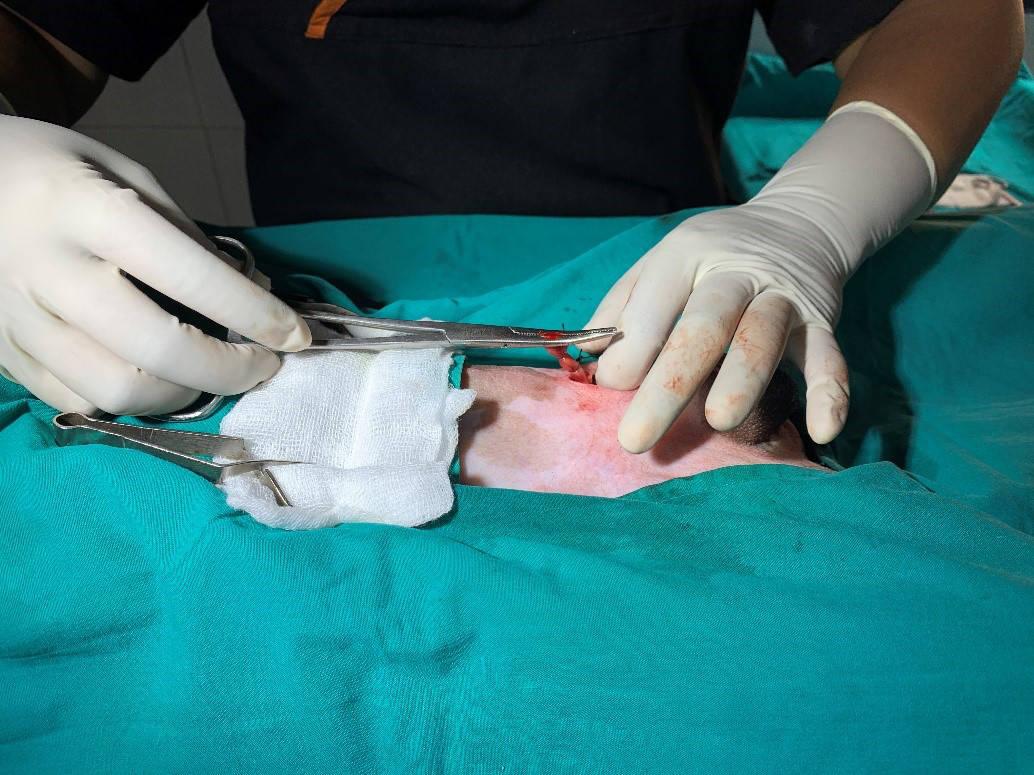
Check for bleeding. Using rat tooth forceps, hold the cut cord above your ligatures and then unclamp the remaining haemostat (Figure 16). Do not hold the ligature in the forceps.
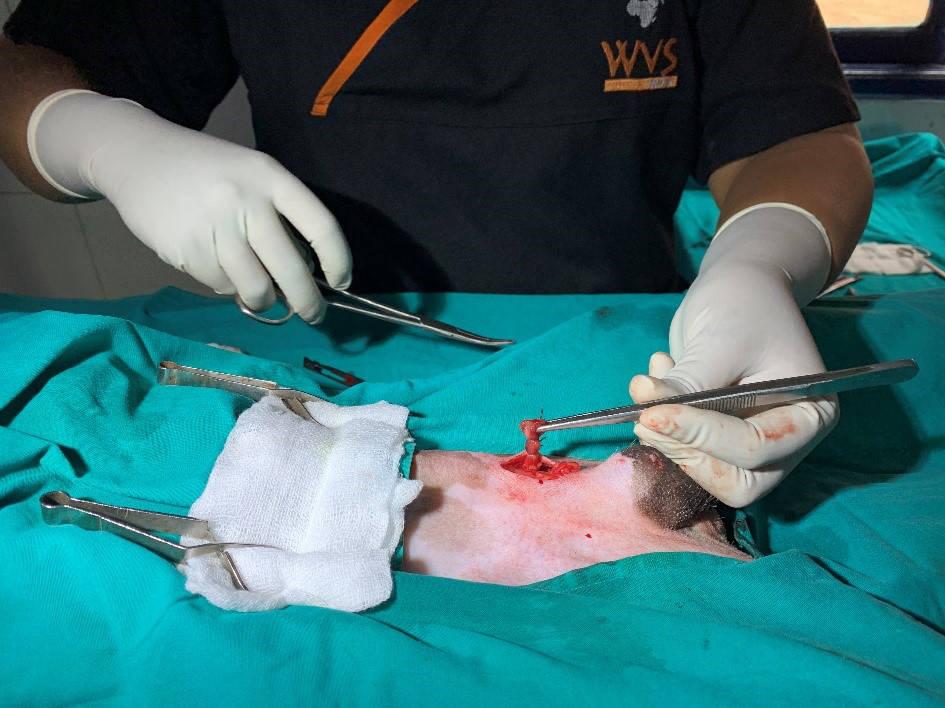
Press gently on the stump with a swab and remove it (Figure 17). Observe the cut area carefully for bleeding.
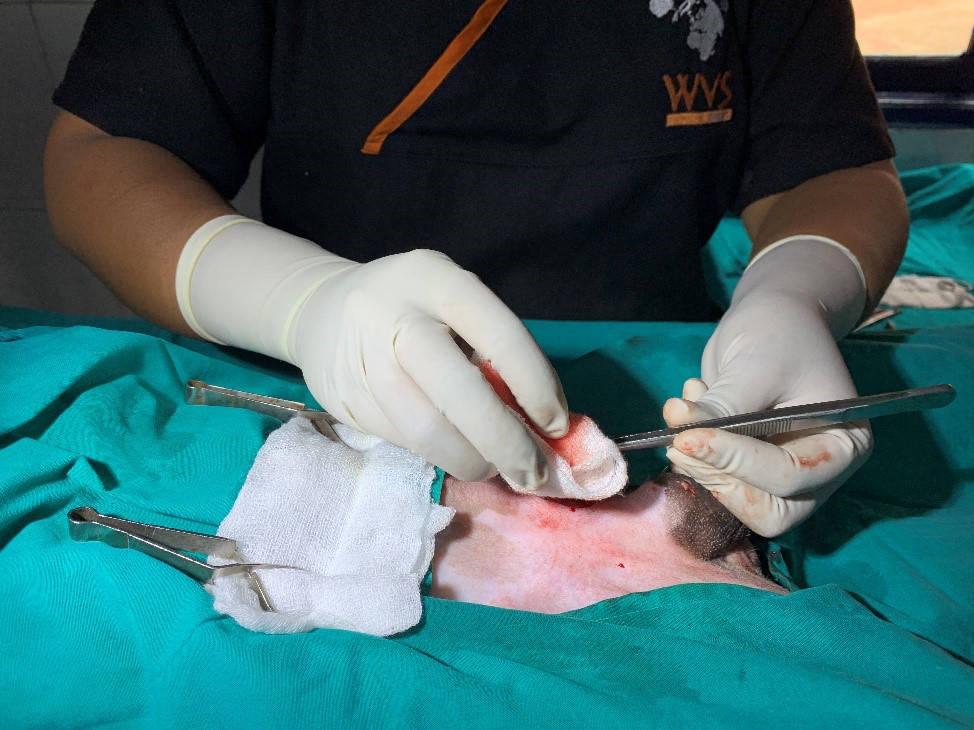
Once you are sure that there is no bleeding, release the stump gently back into the body.
Repeat for the second testis. Advance the second testis to the skin incision. Incise soft tissue to expose the parietal vaginal tunic and repeat the above steps to remove the second testicle.
Whoops, I've cut into the parietal vaginal tunic! What should I do?
Simply continue as for a closed castration, keeping the contents of the spermatic cord within the tunic, and ligate as normal to remove the testis. Alternatively, you can convert to an open castration and ligate the ductus deferens and vascular cord individually, after separating the ligament of the tail of the epididymis from the tunic with your fingers. If you do this, remember to use an encircling ligature to close the tunic and cremaster muscle after removing the testis.
Closing the subcutaneous layer
The main aim is to reduce dead space and to bring the skin edges together in order to minimise tension during the final, intradermal layer. Skin tension can result in dehiscence of the wound.
Use a simple continuous pattern using an appropriate, absorbable suture material e.g. 2-0 PGA (Figures 18-20). Initially place a surgeon's knot at the caudal end of the wound.
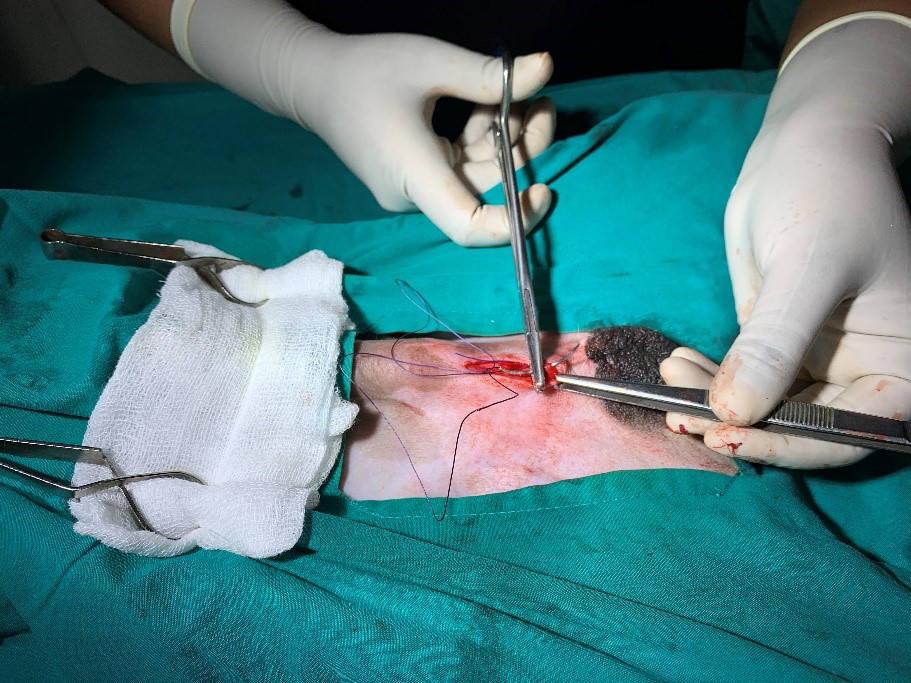
Follow this with 6 square knots to create a secure knot.
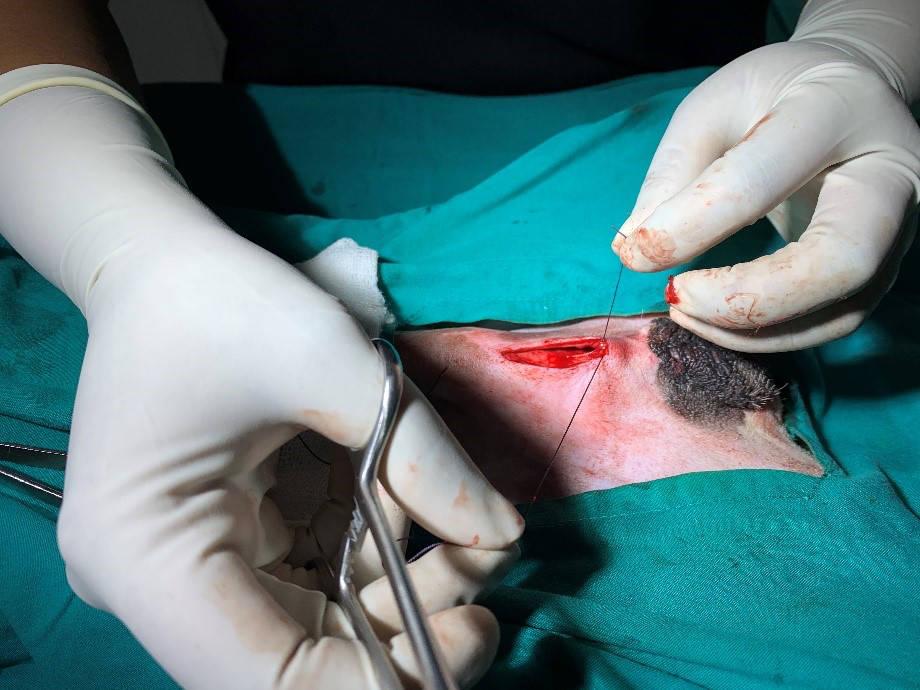
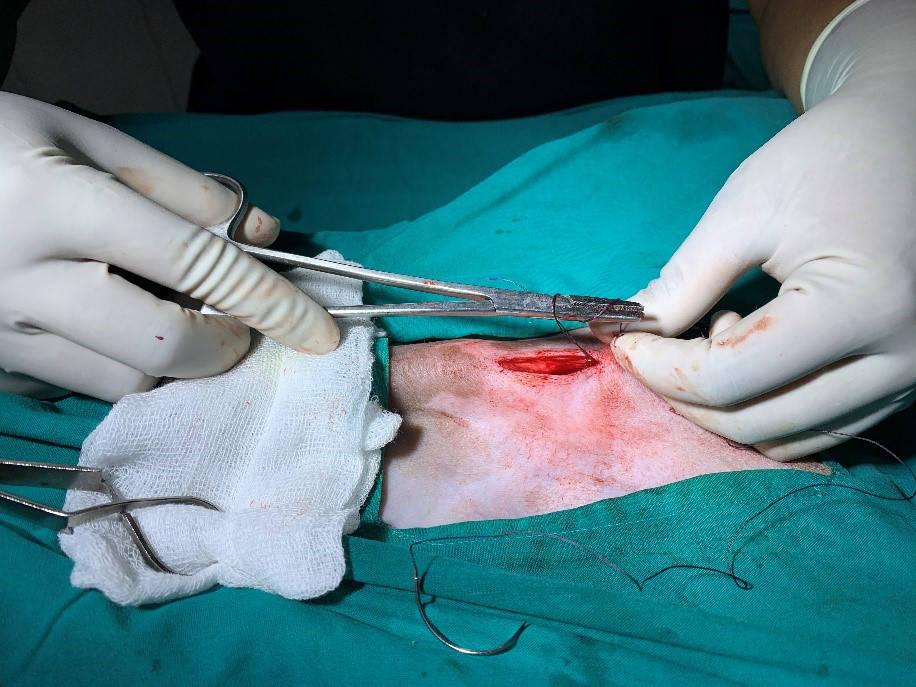
Now close the subcutaneous layer with a modified simple continuous pattern also known as the 'in and out' suturing pattern This involves a 'deep-superficial then superficial-deep' pattern. This method encourages the edges of the skin to sit closer together (Figure 21).
Once you reach the end (which will be cranial), secure it using a surgeon's knot. However, do not cut both ends of the suture material at this stage. Create a loop which acts as the short end, followed by 6 square knots. Cut the short end (the looped area) and proceed to bury the knot in the cranial direction. Gently pull upwards on the knot to elevate it slightly, and direct the needle under the knot and the incision line in a cranial direction. The needle should emerge at the tip of the incision (Figure 22).
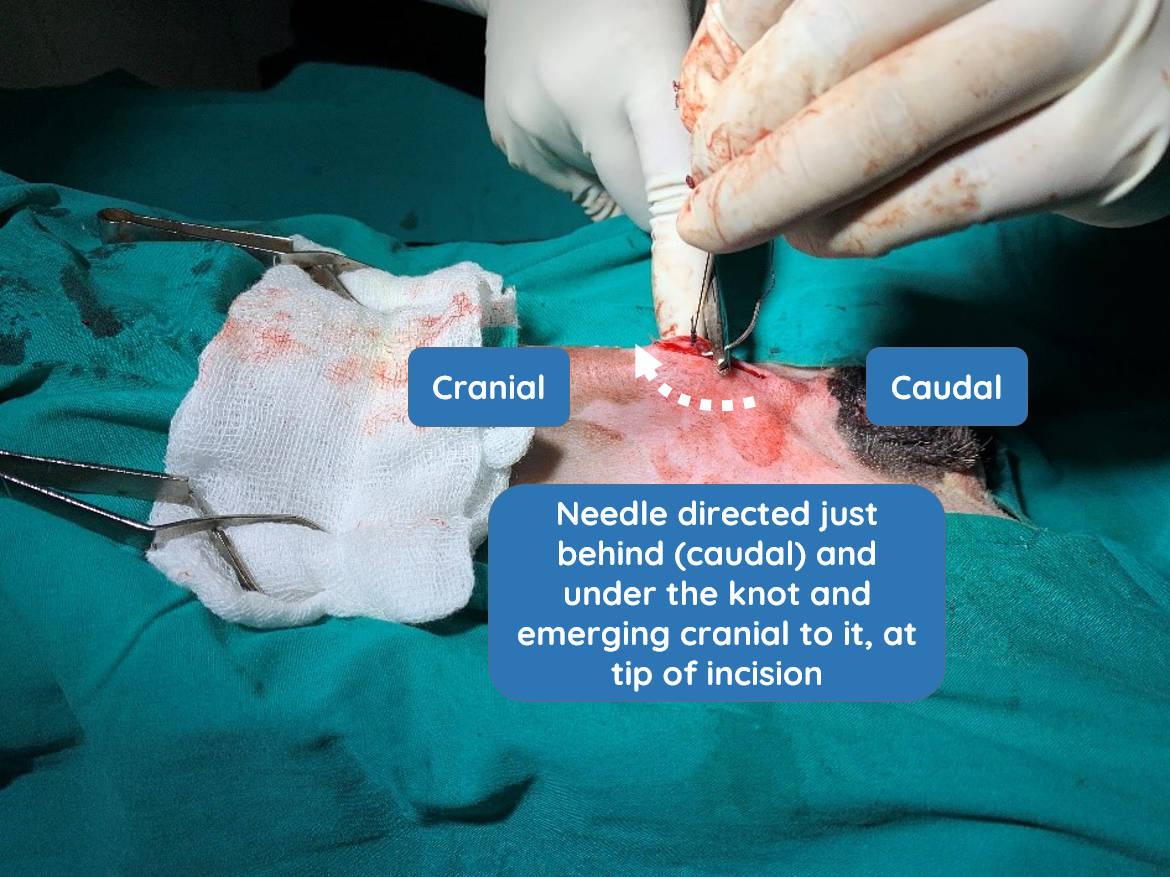
Gently advance the suture material until you see the knot disappear.
Closing the skin layer
The main aim is to oppose the skin edges correctly. This will maximise healing of this layer, thereby re-establishing the protective barrier function of the skin and minimising infection risk.
Start of suture pattern. Using an intradermal suture pattern, close the skin from the cranial to caudal direction (Figures 23-26). Start from the very beginning of the skin incision with your existing suture material. Take horizontal bites, entering the dermis along the cut edge of the skin. Ensure that you are parallel to the incision line for 4-8 mm and then exit the dermis on the same side. As you proceed to take a bite from the opposite site, observe carefully where you previously exited and enter just a little ahead of that in order to avoid gaps. The length of your bite should be longer than the distance between where you exited and where you go in again. If your bite is short e.g. a tiny fragment only, the suture material will easily cut through the tissue and enable the wound to open. Therefore, the way to ensure that you have enough tissue in your bites is to make the bites sufficiently long and parallel to the wound.
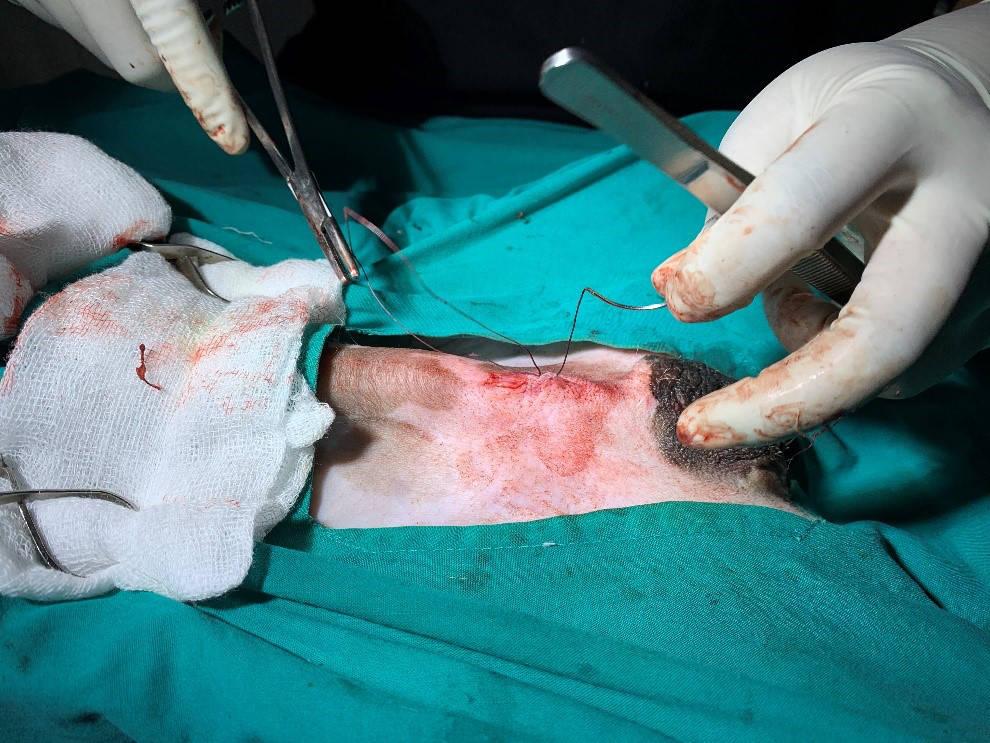
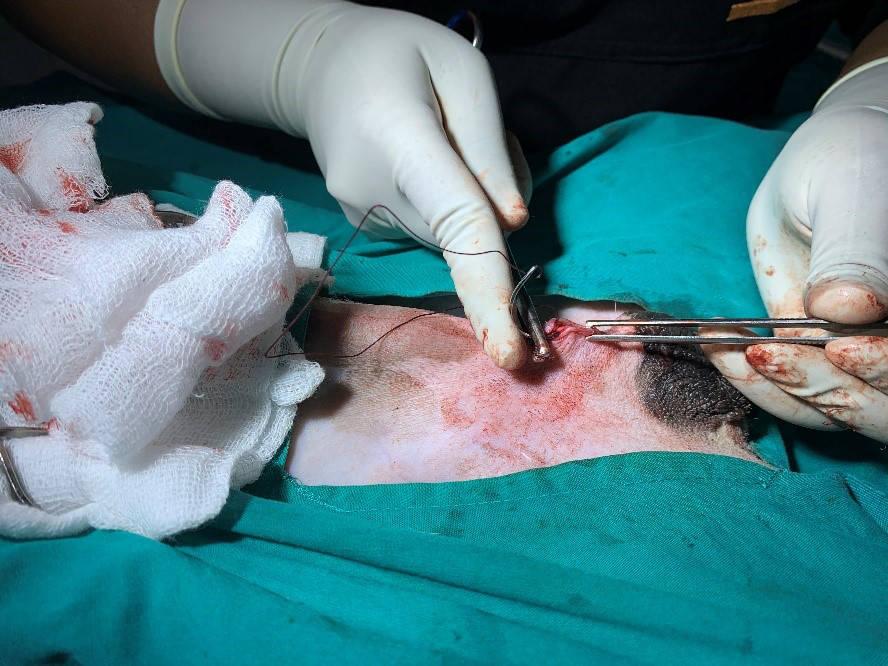
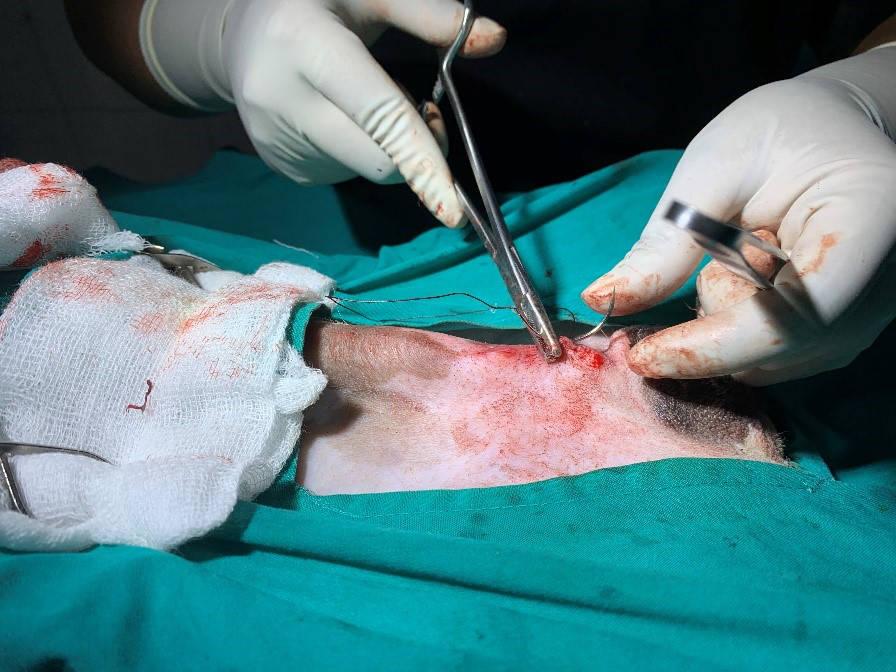
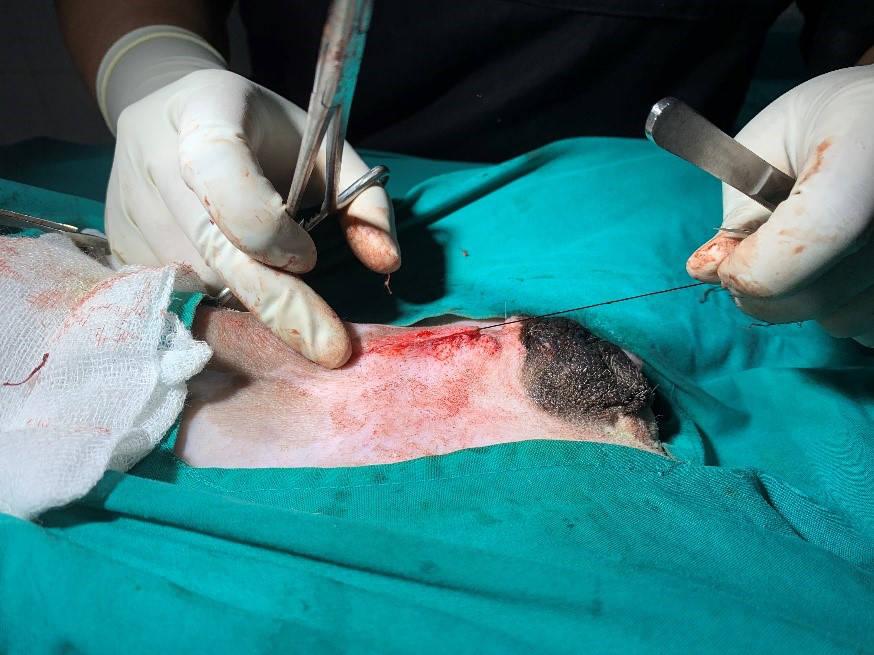
The intradermal sutures must not emerge through the skin; if they do, it will immediately compromise healing by providing a nidus for introduction of infection.
Securing your sutures. As you near the end, begin to plan the final knot well in advance. Ensure that you take adequate tissue in your last bite to provide strength to the knot. A useful technique is to leave the second last and the last bite a little loose. Then tighten the second last bite and proceed to make the Aberdeen knot. Leave a loop of suture before closing the skin in order to secure the suturing with an Aberdeen knot.
If there is no space to take a 4mm long bite parallel to the wound as the last bite, you can also take the last bite perpendicular to the wound, staring from further away and exiting close to the incision. There should be no gaps at the wound edges and the surface should be smooth and not irregular.
Bury the knot by holding the needle perpendicular to the incision site. Direct the needle through a suitable gap in the incision adjacent to the knot, and then exit through the intact skin approximately 1cm from the suture line (Figures 27 and 28).
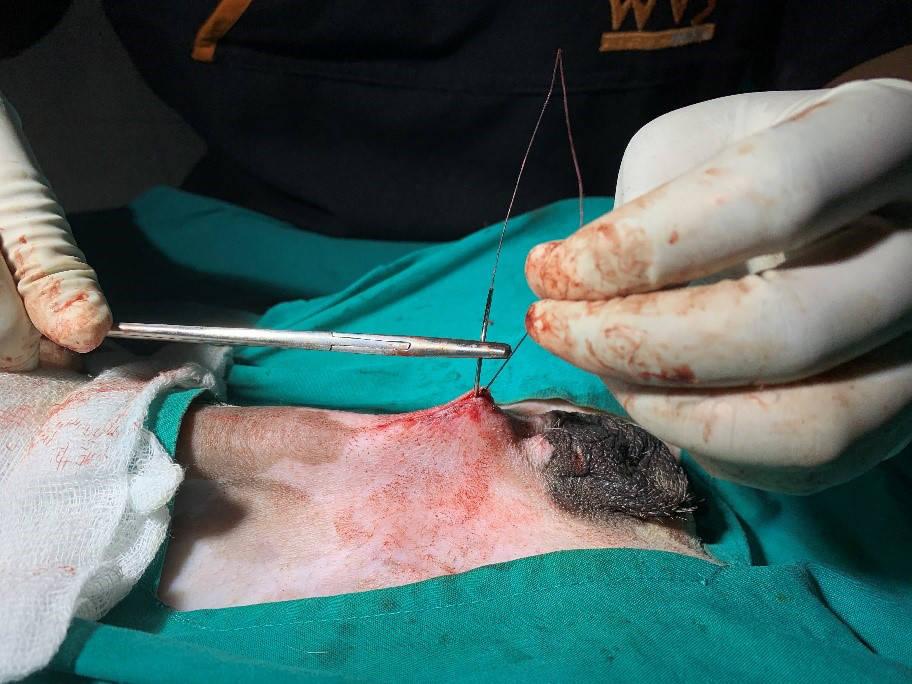
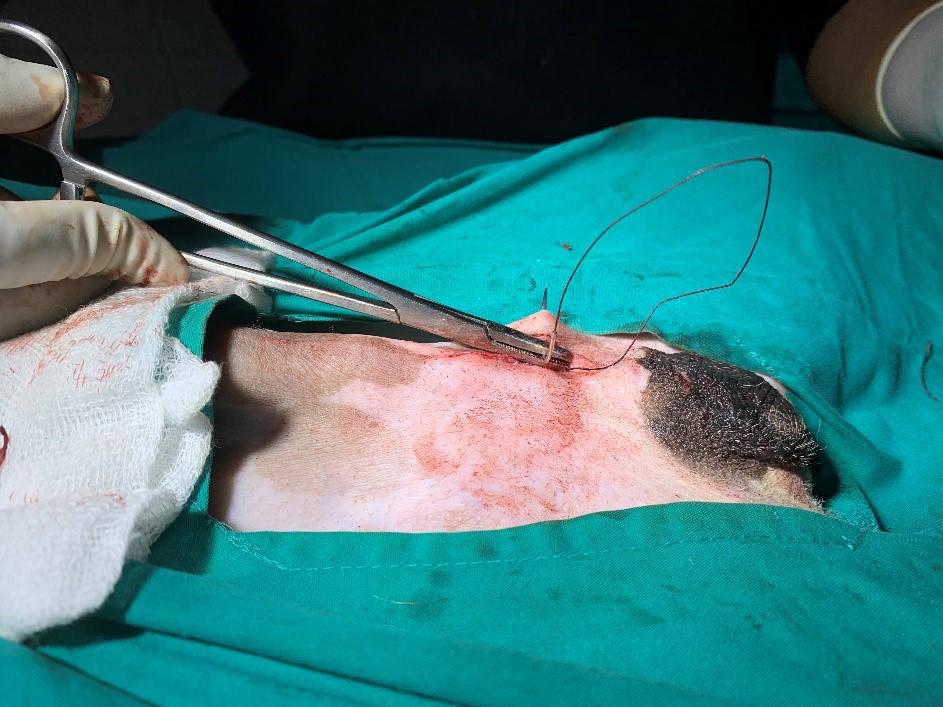
Pull the suture material carefully until you hear or feel a 'pop' of the knot being buried. Now cut the suture material close to the skin to ensure it remains subcutaneous and not extending through the skin (Figure 29).
Your surgery is now complete.