

Packaging materials
There are various types of materials or containers that are suitable for use in an autoclave; all options must have the following properties:
- be resistant to damage during handling and storage
- allow the sterilant to penetrate
- allow the exhaustion of the sterilant after the sterilising cycle
- prevent penetration of the package by microorganisms after sterilisation
Textiles. Instrument sets, drapes and gowns can be wrapped in linen or tight-weave cotton sheets. They are strong and reusable, and are often the most cost-effective option. Their major disadvantage is that they are permeable to moisture. This method is commonly used in spay-neuter settings.
Peel-and-seal bags. Purpose-made, disposable 'peel-and-seal' bags are also available to use as packaging. These come in various sizes to accommodate single instruments as well as whole surgical packs (Figure 1).
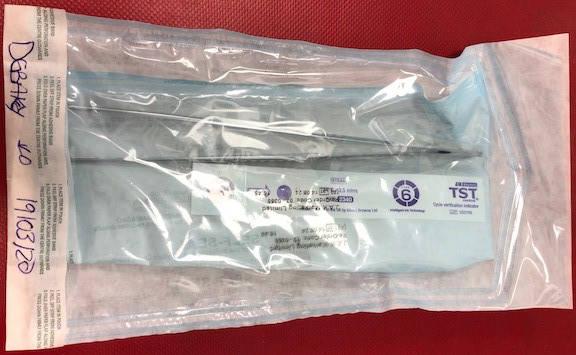
Nylon film. This is reusable material and is available in various sizes. Over time, it can become brittle and should be replaced.
Paper. Paper sheets can be used for packing instruments; if handled carefully, they can be resued several times.
Drums. These are metal containers with vents to enable to the steam to circulate (Figure 2). As they are multi-use, there is a risk of contamination each time an item is removed.
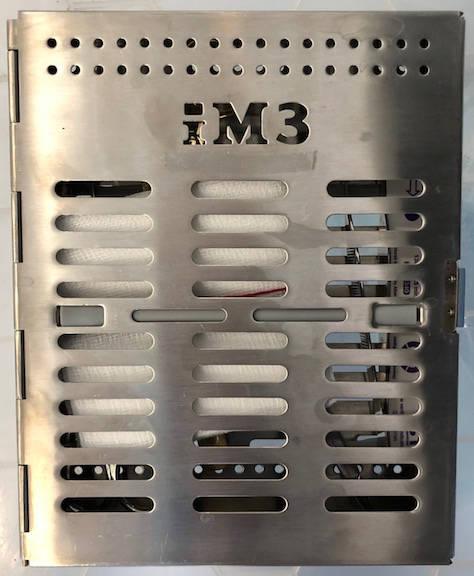
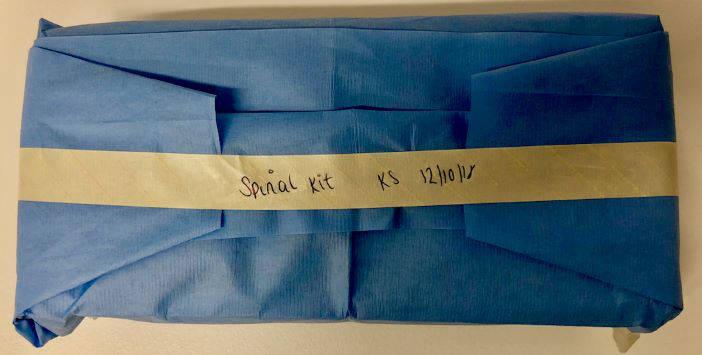
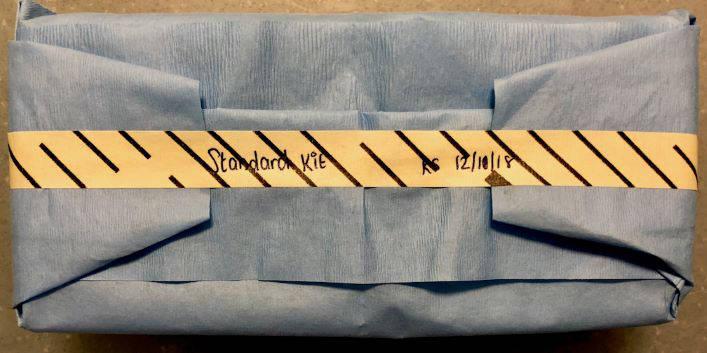
Double wrapping is best practice as it helps maintain sterility in case the outer packaging is accidentally damaged. Before sealing the pack, air must be removed from the bag. This bag is then placed in a larger bag, the air removed and the bag sealed. Packs should be labelled and dated (with either date of sterilisation or the date of expiry).
Single instruments should be placed in suitable packaging prior to sterilisation (e.g. nylon film, or peel-and-seal bag) so that when opened by an assistant, the handles are presented first to the surgeon. This way, the surgeon can remove the instrument easily without breaking sterility. The tips of sharp instruments should be protected with a cover to avoid penetration of the packaging. Instruments should be left in an open position to enable sterilisation of all surfaces (Figure 3).
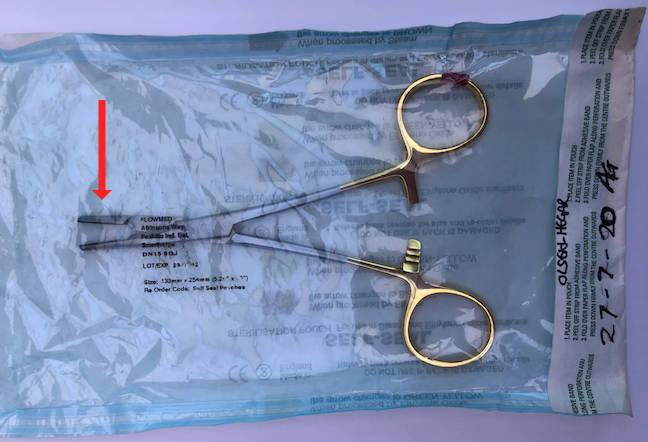
Indicator tape, or other method of testing the efficency of sterilisation, should be included in any pack (see 'checking efficiency of sterilisation' below). In addition, if the equipment is to be stored, it must be labelled with the date of autoclaving.
Autoclave cycles
Front-loading autoclaves
Each autoclave will come with specific instructions on how to operate it; follow these carefully.
In general, the minimum time-temperature standard for routine sterilisation of packs containing metal instruments is 15 minutes at 121-123°C in a gravity-dependent, front-loading, commercial steriliser.
Emergency 'flash' sterilisation can be used to quickly sterilise individual items of equipment. A non-sterile, unwrapped instrument is placed in a perforated metal tray and rapidly sterilised in the gravity-dependent steriliser before being transported directly to the surgical tray. Metal items need 135°C for 3 minutes, while items with a lumen, or porous items (e.g. plastics and rubber), need 10 minutes. These items need to be used immediately, and cannot be stored for later use.
Top-loading, pressure-cooker autoclaves
Similar to the front-loading autoclaves, specific manufacturer's instructions should be followed carefully. However, the general principles for working this kind of autoclave are outlined below.
Preparation. The bottom of the autoclave (not the inside of the removable, inner cylinder) should be filled with 2-2.5 inches of water. Drinking or distilled water should be used.
Loading. The cylinder should be loaded correctly into the autoclave, and surgical kit packs can be placed inside. Don't overload the cylinder; a guide would be to use a maximum of four kits at a time, but this may depend on the size of the machine. Cover the kits with 2-3 towels (Figure 4).
Securing. Secure the lid, making sure the air channel is in place (Figure 5). The steam valve should be open.
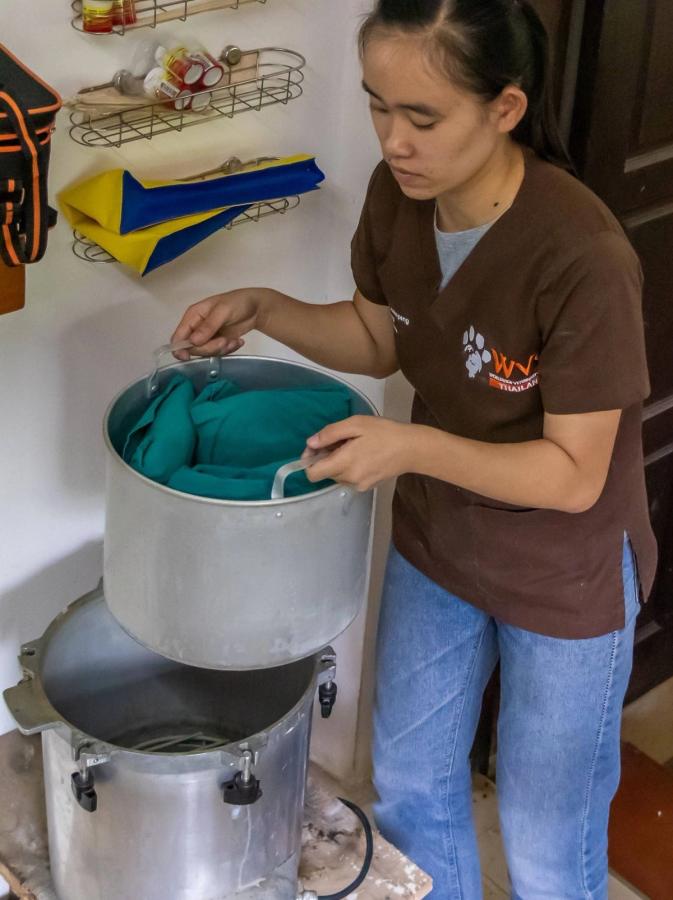

Running. Turn the autoclave on, with the thermostat set to maximum.
It can take up to 45 minutes for the steam to start flowing from the control valve. Let it flow until you can see a continuous stream of steam. (You can accelerate the heating up period by using hot or boiling water at the start).
Close the control valve; the pressure will then start to increase. It can take around 15 minutes to reach the required pressure of 17-21 PSI. (This is may be marked as a 'green zone' on the pressure dial).
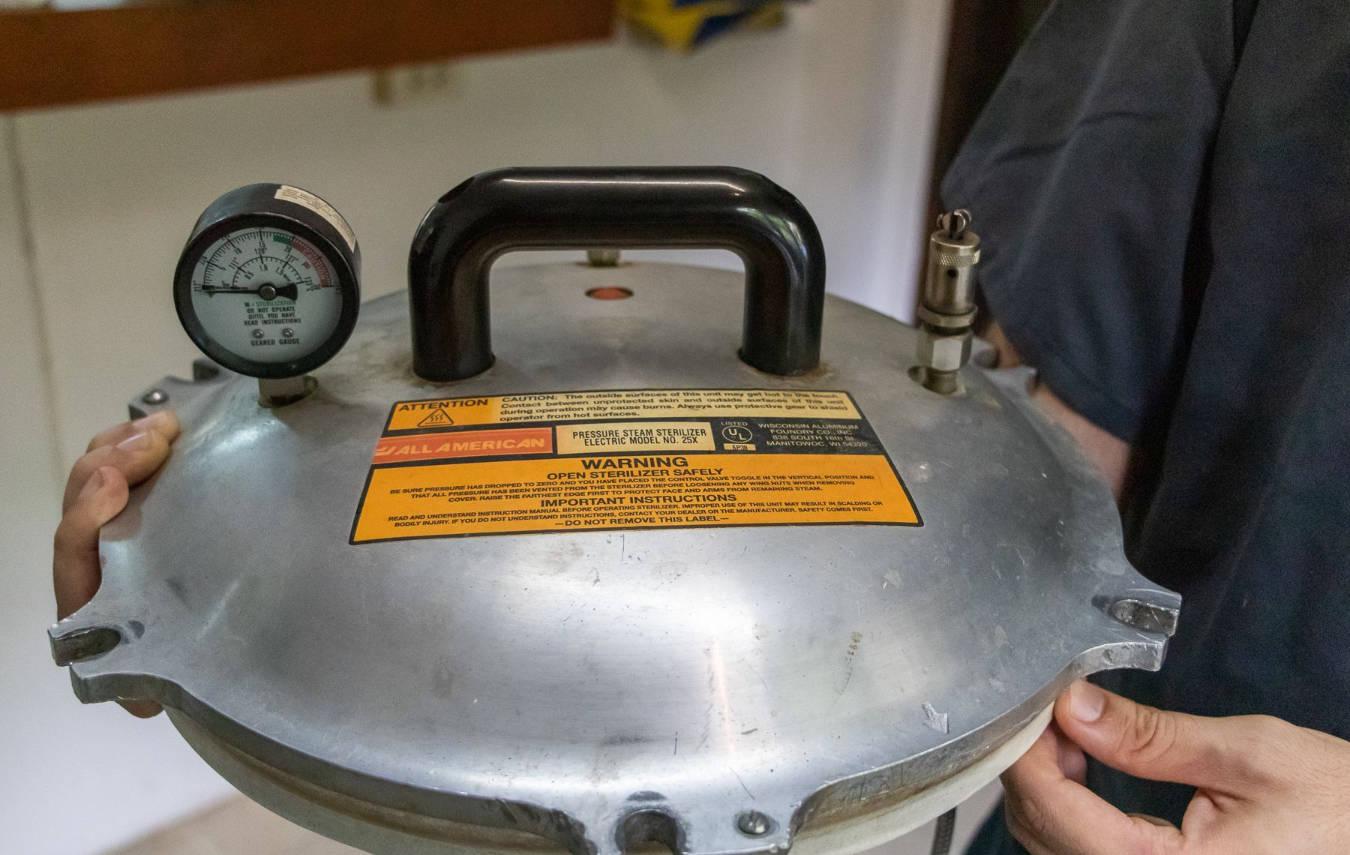
Monitor. The heat can then be reduced by turning down the thermostat; however, you should monitor the pressure gauge frequently to ensure it is kept within 17-21PSI. (You may need to turn the heat up again).
The pressure should stay at this level for at least 40 minutes.
On completion. Once the cycle is complete, switch off the autoclave and open the control valve. The machine will be extremely hot, and special care should be taken when doing this: do not use your bare hands, and protect yourself from the steam.
Let the pressure reduce to zero. At this point, the autoclave cover can be removed, but again you must be careful of the hot steam.
Checking efficiency of sterilisation
Always check to make sure the autoclave cycle has worked effectively and that sterility has been achieved before using surgical equipment. This is achieved by various methods:
Indicator tape (Bowie-Dick). This tape is commonly used to seal packs. It contains repeating, chemically-impregnated stripes that turn brown when the temperature reaches 121 degrees C (Figure 7). However, it does not measure the length of time that this temperature was maintained, so does not fully indicate if sterility has been achieved. Some purpose-made packaging (e.g. peel-and-seal) will have an indicator strip built-in.
Reproduced with permission from Mrs D Prisk, Dip AVN (Surgical), VTS (Anesthesia & Analgesia), LTCL, LCGI, RVN
Chemical indicator strips e.g. TST strips. These change colour once the correct temperature, pressure, and also time, has been reached, providing a more accurate estimate of the effectiveness of sterility. However, different strips are used for differernt conditions, so the correct one must be used (Figure 8).

Browne's tubes. These are similar to the chemical indicator strips; there are different ones for different temperatures.
Spore test. A strip of paper that contain spores of the bacteria Bacillus stearothermophilus, is included in the autoclave run; it is then placed in culture medium for up to 72 hours. If successful, there is no bacterial growth. This method does not, therefore, give an instant result, and is not commonly used in spay-neuter settings.
Storage conditions
Storing instrument packs correctly, and protecting them from damage, will help keep them sterile for as long as possible. Sterile packs must be stored in a dedicated area which is kept clean, dry, covered and protected from damage such as vermin (a closed cupboard is ideal). It is most important that packs remain dry: if they become wet, "strike-through" can occur through small micro holes in the packaging which can introduce bacteria through to the inside. Avoid keeping packs under sinks for this reason! Try to avoid stacking too many packs on top of each other, and avoid handling the packs repeatedly.
Storage times
Once items have been sterilised, they will not remain sterile indefinitely. The expiration date is dependent on the type of sterilisation used, packaging material, and storage. Certain types of packaging are time-limited, beyond which the pack is considered non-sterile. Any damage or changes to the packaging will also break sterility.
Porous packs, for example, those wrapped in material such as cloth drapes, should be re-packaged and re-autoclaved after 4 weeks if unused, or sooner if sterility is compromised due to a defect in the packaging. Packs that are contained in nylon or 'peel and seal' packs can be used for up to one year if stored correctly.
Do not use equipment where the package has been torn, become wet, or the seal has been broken.