Bandages, sometimes referred to as secondary and tertiary dressing layers, are used to hold dressings in place, control haemorrhage, prevent movement of fractured limbs, and prevent self-trauma or further contamination. Once the appropriate primary layer dressing is selected for the current phase of healing (e.g. honey dressing for the inflammatory phase, moisture dressing for the proliferative phase), it is placed on the wound, followed by a bandage.
Most commonly, we use a three-layer bandage (also referred to as a modified Robert Jones bandage) with Vetrap on the outside:
- Primary (contact) layer. The dressing in direct contact with the wound, such as honey with clean gauze over the top.
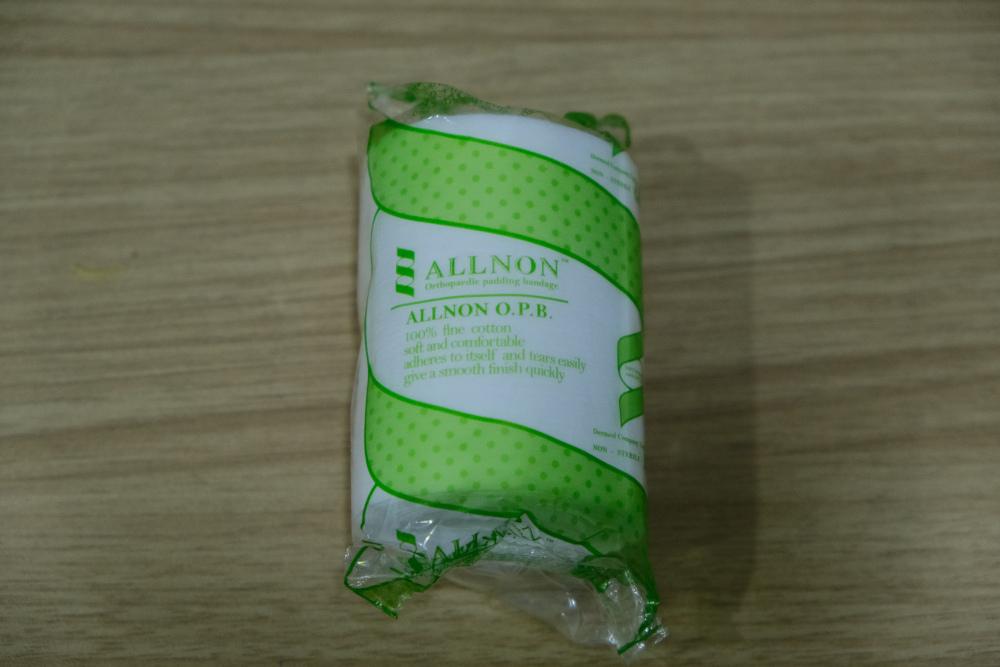
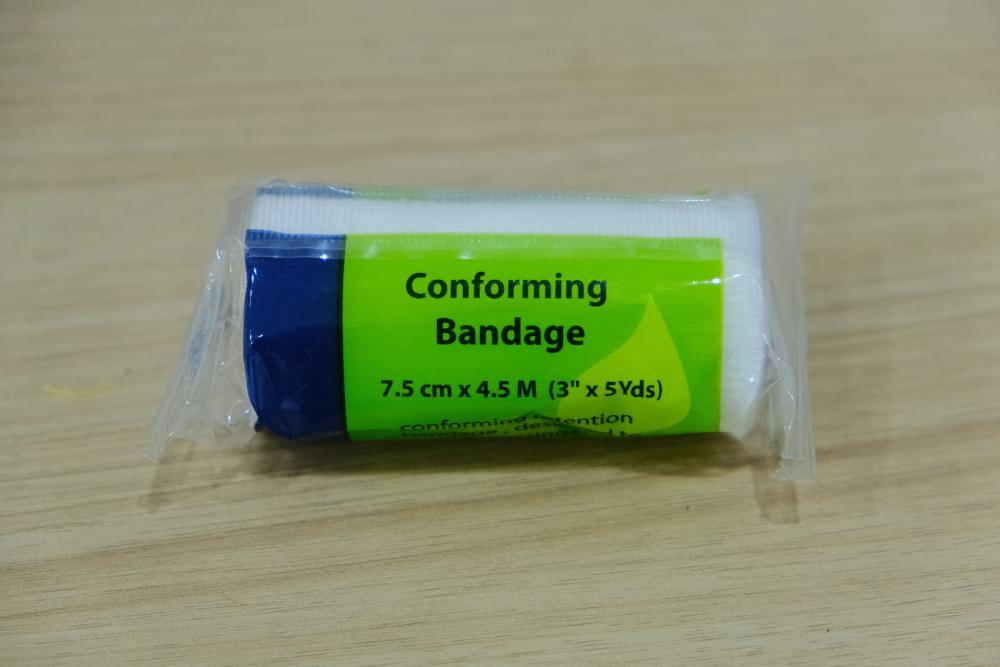
- Secondary (absorbent) layer. This layer absorbs exudate and holds the primary layer in place, typically with a layer of roll cotton or cast padding, and a layer of stretch-gauze bandage to secure it.
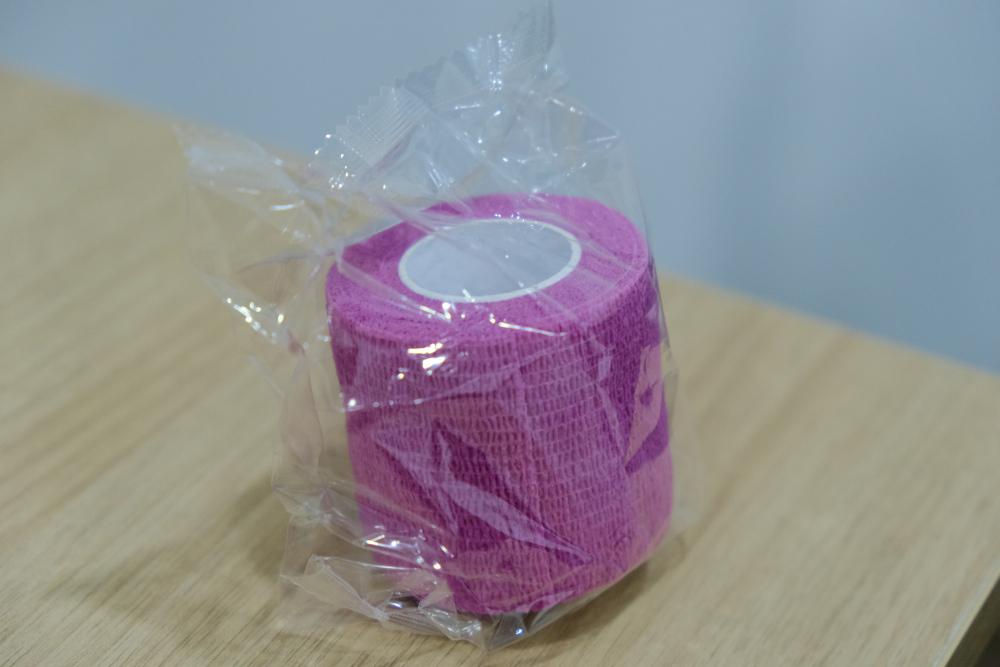
- Tertiary (support) layer. Provides structural support to secure the other layers, using an elastic wrap like Vetrap. Ensure this layer isn’t tight to avoid cutting off the blood supply. Tape may then be applied where the bandage meets skin to secure it in place. When removing, use liquid spray to “unstick” the tape and minimise pain for the animal.
How to apply a limb bandage (modified Robert Jones bandage)
- Restrain. Place the patient in lateral recumbency with the affected limb up.
- Hygiene. Ensure clean hands and wear clean gloves.
- Stirrups. (OPTIONAL): You may place adhesive stirrups at this point by applying strips of adhesive tape on the medial and lateral aspects of the limb, allowing half of the tape to extend beyond the foot. At the end of bandaging, fold the adhesive ends over the bandage layers to prevent slippage.
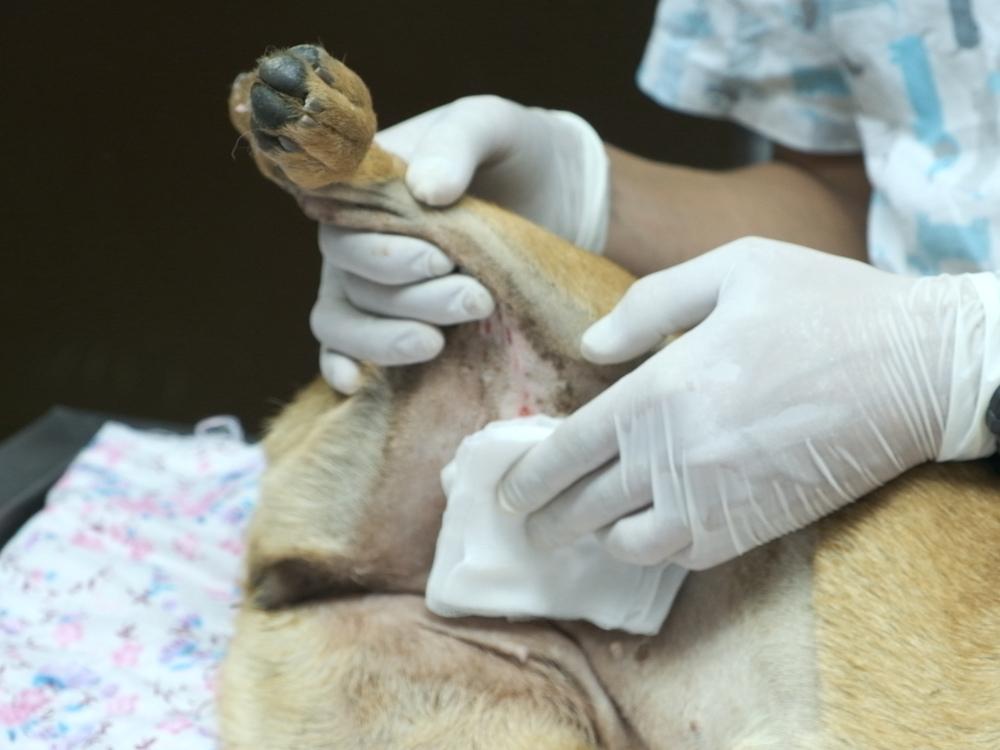
- Dressing. Apply the chosen dressing carefully to the wound, ensuring you don’t touch the side that contacts the wound (to maintain sterility).
- Padding. Apply the padded (absorbent) layer (roll cotton or cast padding) around the entire limb, starting at the foot. Cover the entire foot by looping the material from the dorsal to plantar/palmar metacarpals/metatarsals 2-3 times. Then, continue rolling the layer proximally, ensuring the limb is evenly padded.
- Conform. Apply the gauze-conforming bandage over the padded layer, ensuring the entire limb is covered.
- Splint. If necessary, place a splint along the caudal aspect of the limb, securing it with the gauze-conforming bandage.
- Outer. Apply the outer elastic wrap (e.g., Vetrap) over the gauze layer, ensuring it’s not too tight by unwrapping a bit and releasing tension before placing it. Ensure no padding is exposed, and avoid extending the outer elastic wrap beyond the underlying layers to prevent skin contact.
- Check. Check the tightness by placing two fingers under the bandage to ensure it is not too loose or too tight.
- Tape. Secure the bandage by applying tape at the junction between the outer elastic wrap and the patient’s skin to ensure the bandage remains in place. Do this for both the proximal and distal ends.
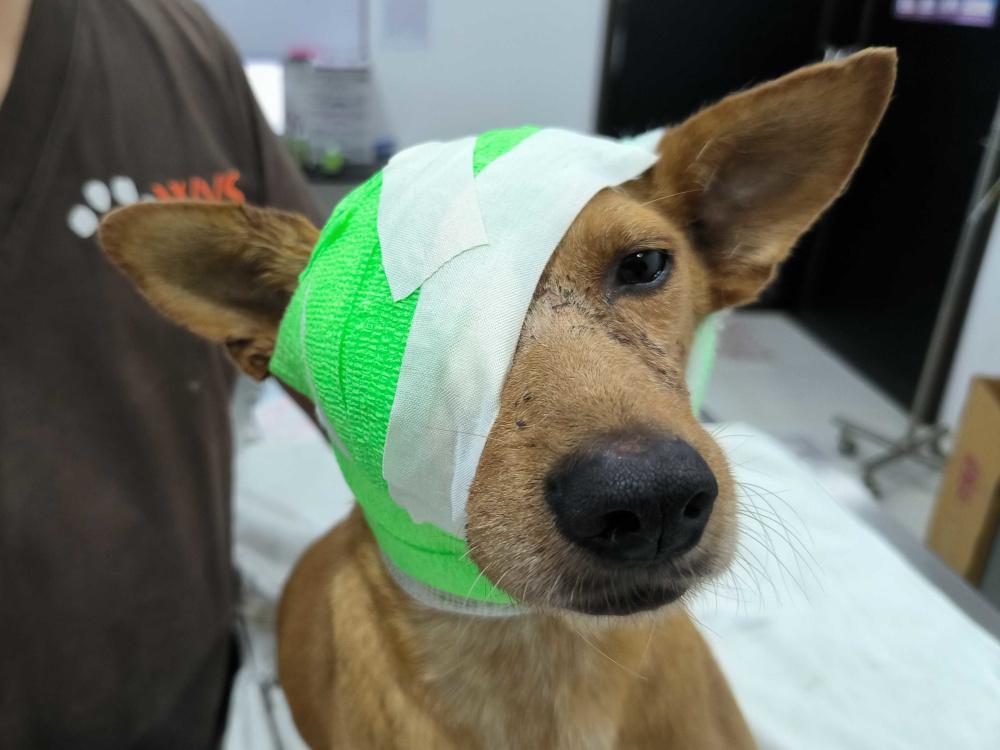
How to apply a head bandage
- Position. Position the patient for access to the wound.
- Hygiene. Ensure clean hands and wear clean gloves.
- Dressing. Apply the chosen dressing to the wound without touching the side that contacts the wound.
- Ear padding. If the ear is to be included, place padding on the cranium and fold the affected (and dressed) pinna down onto it.
- Padding. Apply the padded bandage, rolling it from the centre of skull, rostral to the pinna, over the cheekbone, under the chin, and to the opposite cheekbone. Then roll it up rostral to the pinna and back to the cranium before rolling it diagonally behind the opposite pinna in a figure of 8 loop. Continue this figure of 8 loop until there is enough padding.
- Conform. Apply the gauze-conforming bandage in the same way, followed by the outer elastic wrap (Vetrap).
- Check. Place two fingers under the bandage to ensure it’s not too tight.
- Tape. Place tape at the junction between the outer elastic wrap and the patient’s skin to secure the bandage. Secure it in multiple places on the bandage.