

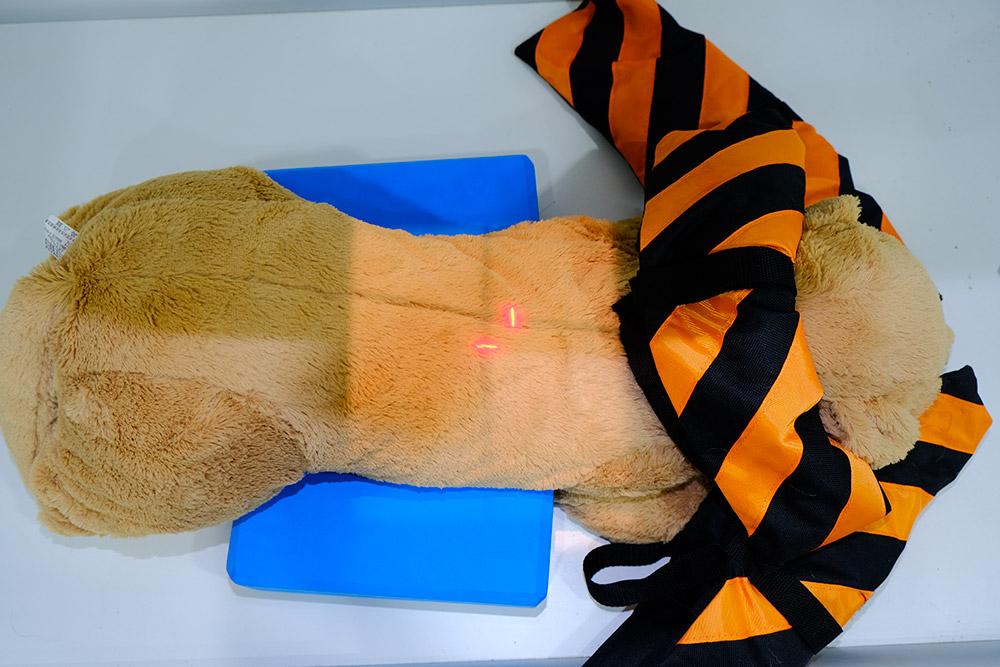
1. Position the sedated patient in sternal recumbency (lying on the plate). Pull elbows cranially and allow the hind limbs to rest in a natural position.
2. Measure patient depth and select exposure settings on the X-ray machine. Place the grid on the plate (where the depth is over 10cm). This is not needed for all X-ray machines.
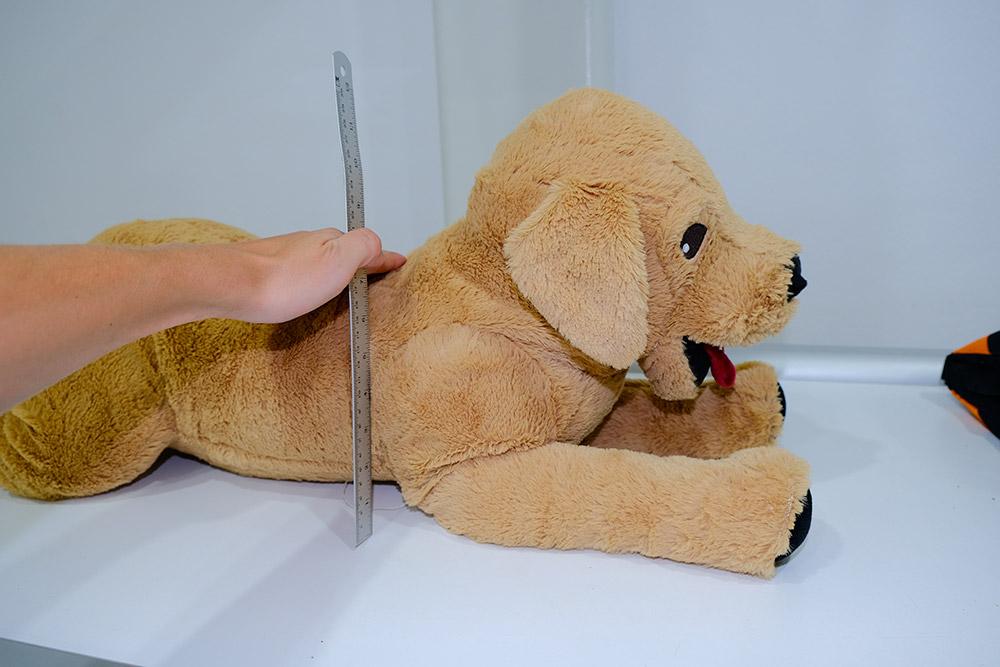
3. Straighten the patient, so its spine lies over its sternum. Foam wedges may be placed under each side of the sternum to avoid rotation. You may place the patient's head on a foam block to straighten the spine.
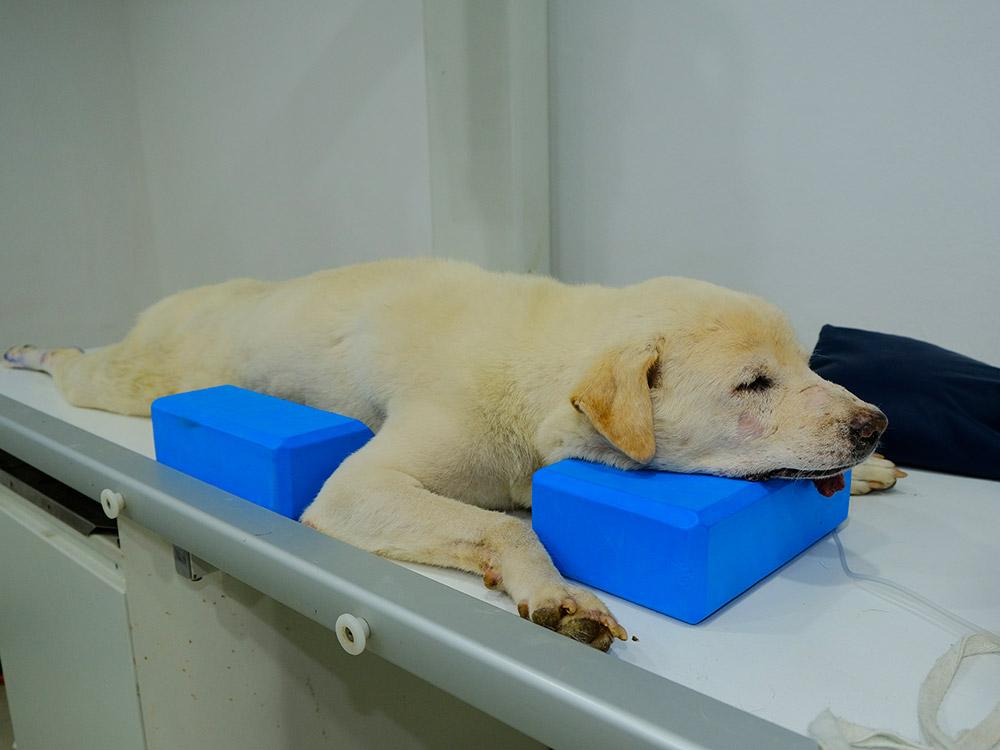
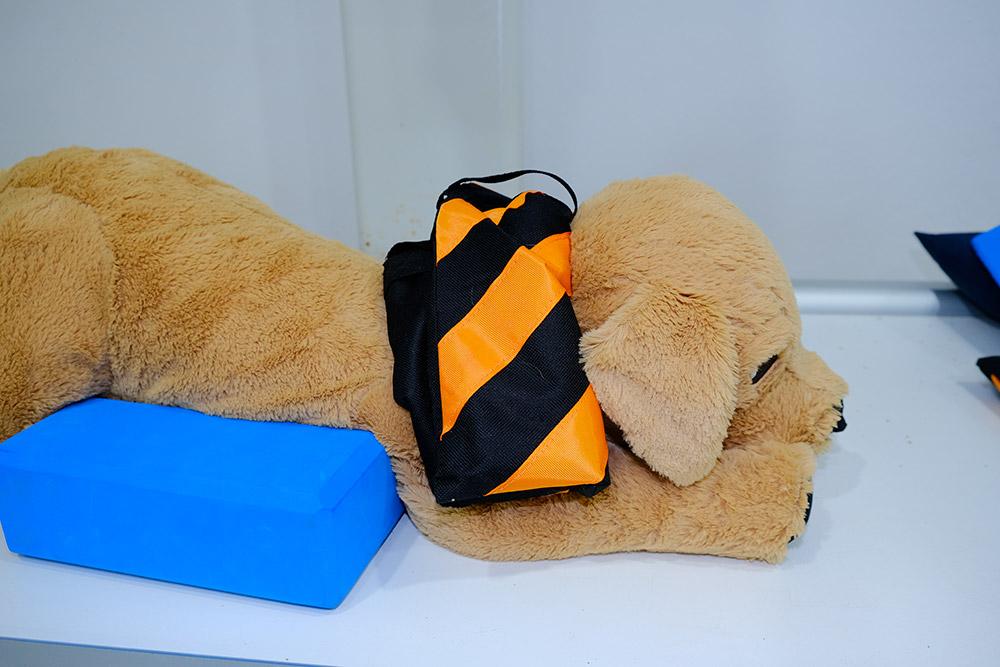
4. You may place a sandbag over the patient's neck, taking care not to compromise breathing.
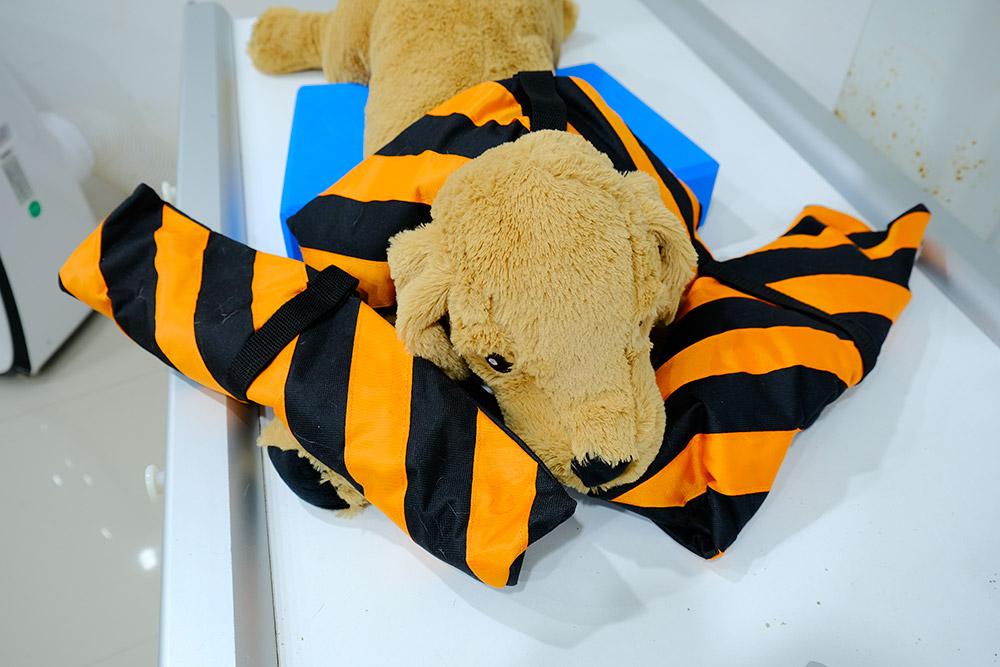
5. Secure each forelimb with a sandbag, or rope ties.
6. Centre the beam over the mid thorax, and collimate to include the thoracic inlet, lowest rib, and lateral skin edges.
7. Place the L/R marker in the collimation.
8. Take the radiograph.