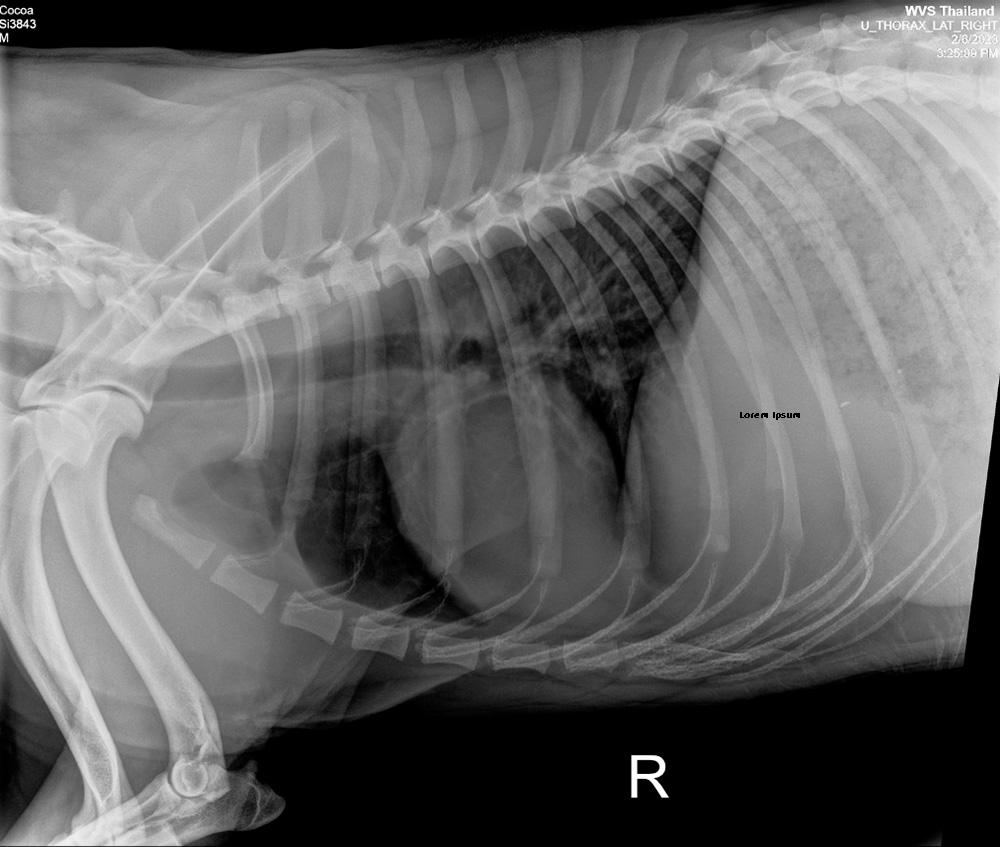

1. Select exposure settings on the x-ray machine, and place the grid on the plate (where the depth is over 10cm).
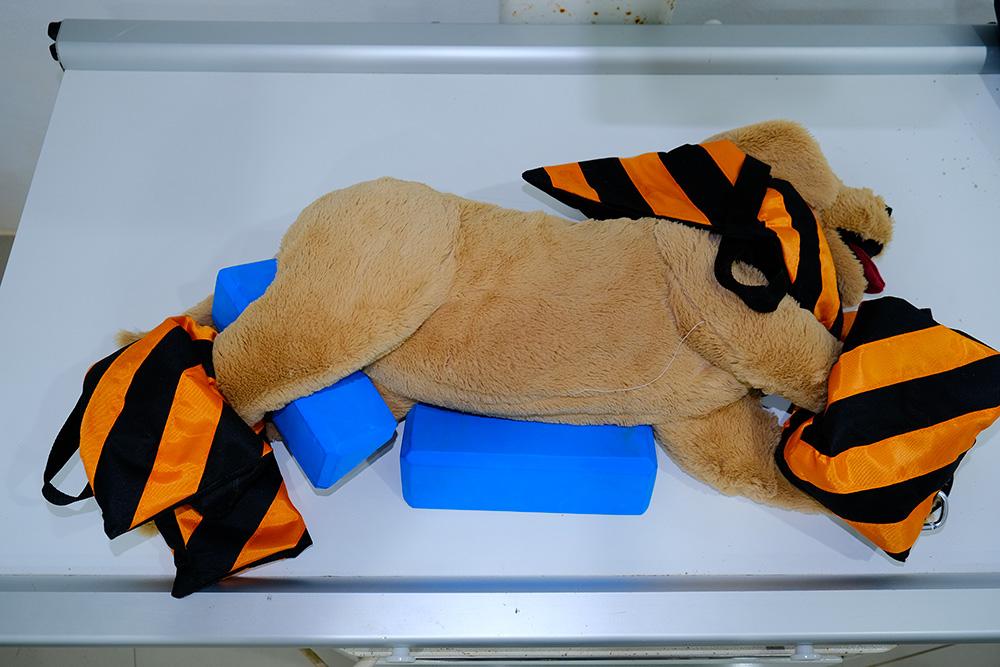
2. Position patient in lateral recumbency (right side to the plate for right lateral, left side to plate for left lateral).
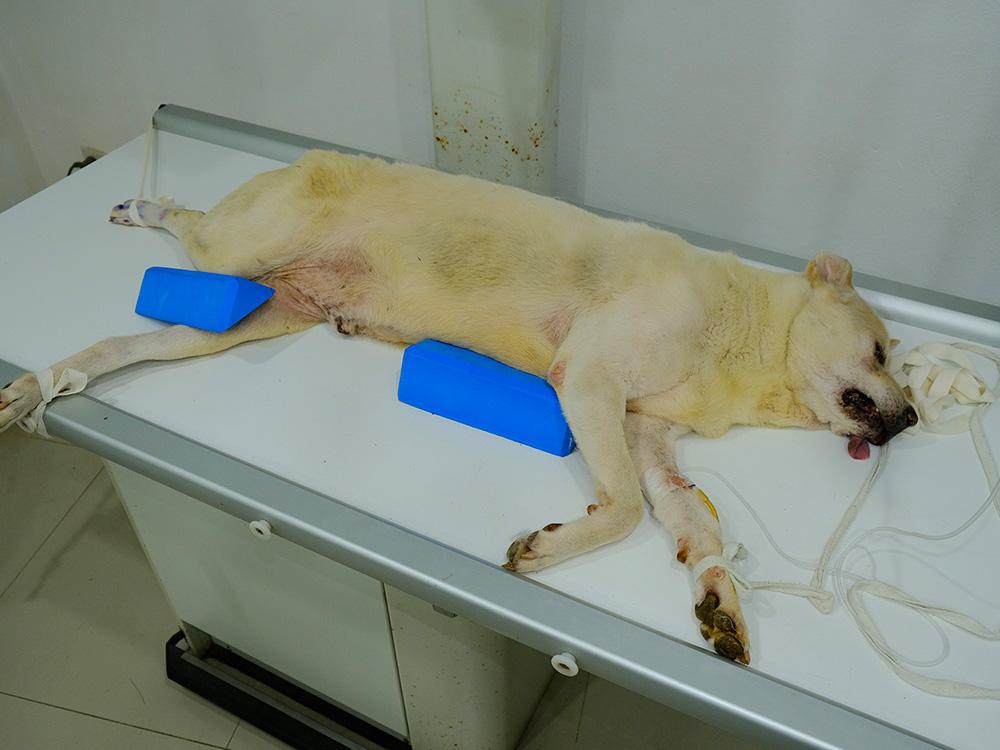
3. Position a foam wedge under the sternum to minimise rotation and ensure the patient’s ribs are in line with the spine.
4. Put a sandbag over the patient’s neck to keep it in position; ensure breathing is not obstructed
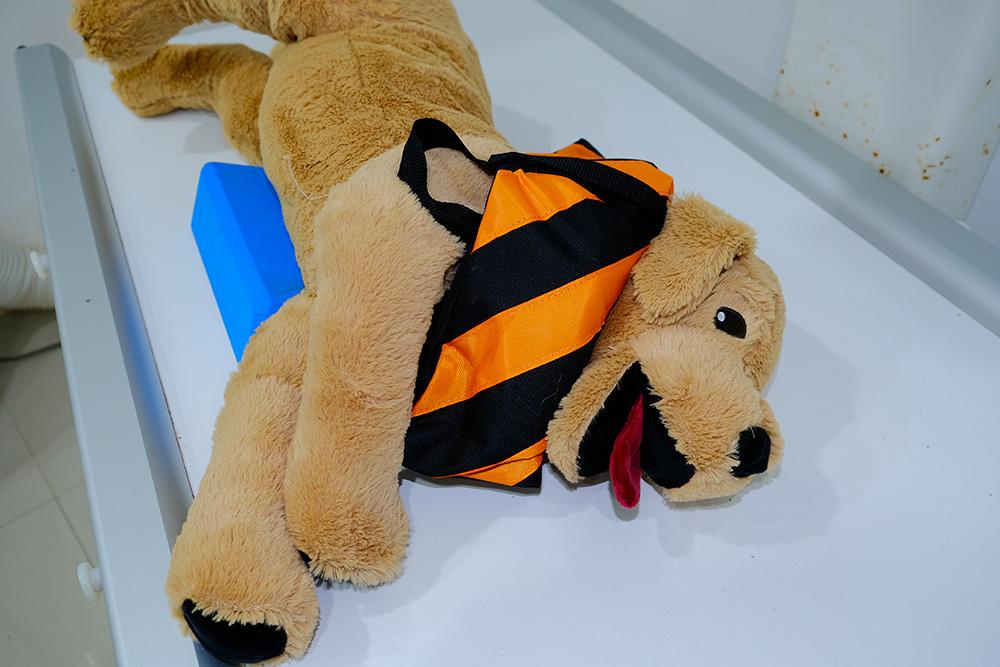
5. Pull forelimbs cranially and hindlimbs caudally to remove them from the x-ray field, and secure them in place with rope ties or sandbags.
6. Place right/left marker within collimation of the beam, right marker present for right lateral and vice versa.
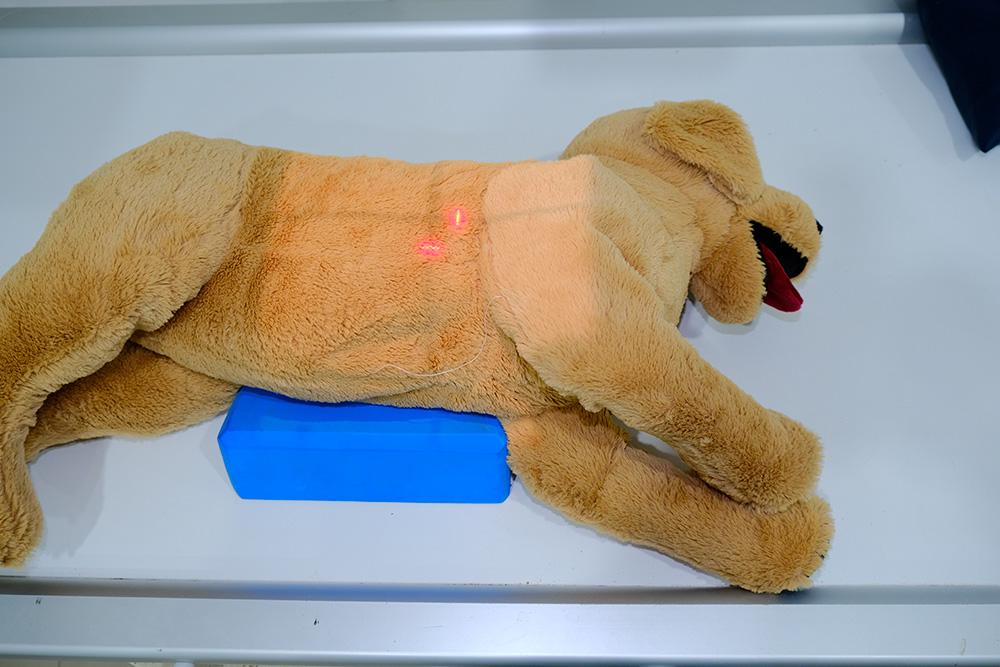
7. Centre the primary beam over the mid-thorax and collimate cranially to the thoracic inlet, caudally to the last rib, and dorsally and ventrally to the skin edges.
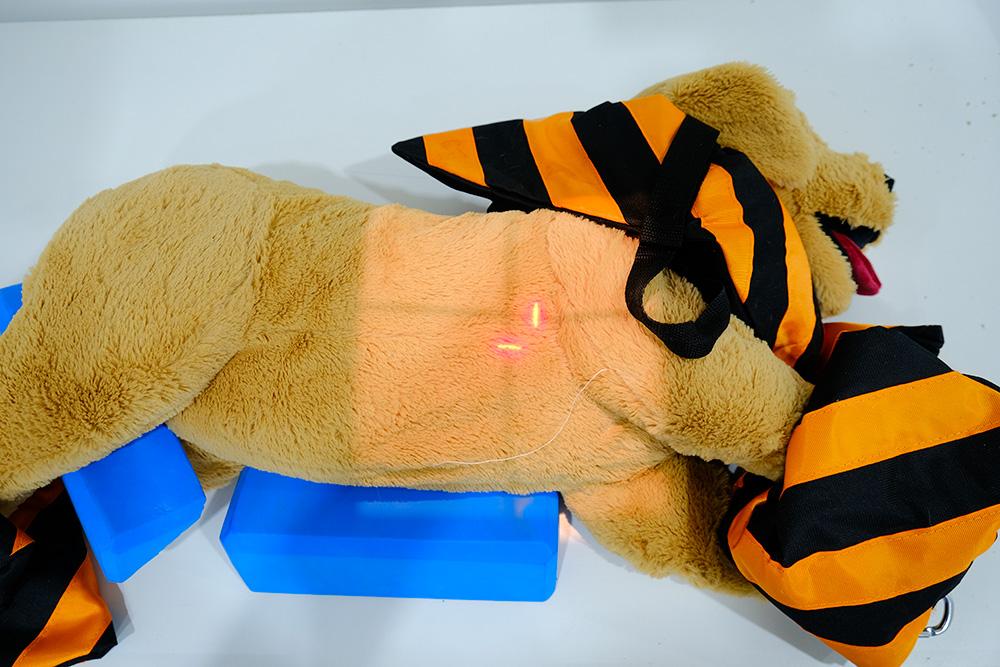
8. Ensure staff stand behind the lead shield and take the radiograph.