
Reusable equipment must be cleaned and disinfected appropriately between patients to prevent the transmission of infectious agents. In a clinical setting, equipment comes into frequent contact with animals’ skin, hair, and bodily fluids. Without effective cleaning, these items act as fomites, transferring bacteria, viruses, fungi, and even parasites between patients. This guide outlines common pieces of equipment and provides recommendations on how to clean and disinfect them after use.
Surgical instruments require specific methods for cleaning and sterilisation. For guidance on surgical instrument cleaning please see articles elsewhere on our website.
The cleaning methods and product types referenced are intended as general recommendations only. Always follow local regulations, manufacturer guidance, and your organisation’s approved protocols when selecting and using cleaning/disinfection products.
Electric clippers
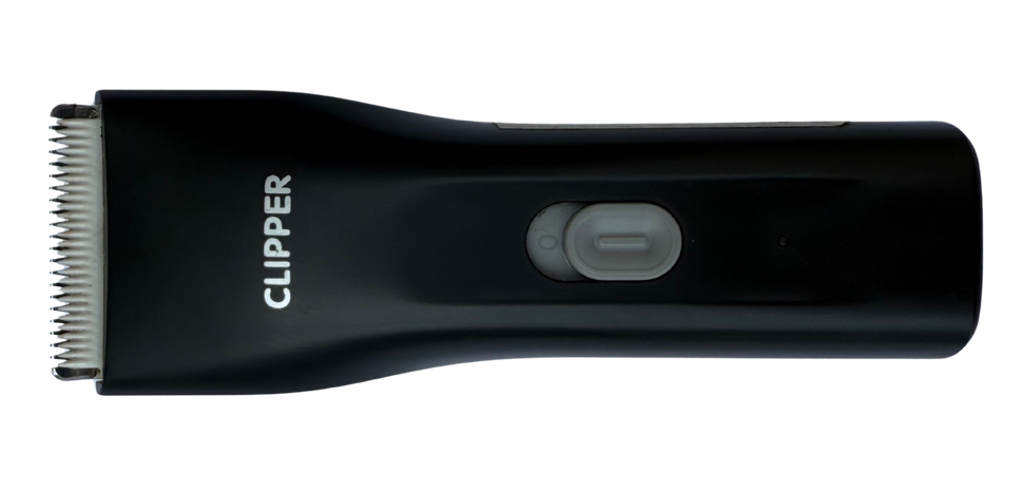
Electric clippers and their blades are commonly used on multiple patients throughout the day, often on areas that may be contaminated or close to wounds. As a result, they can easily accumulate hair, skin debris, and microorganisms.
Poorly maintained or damaged blades can also increase the risk of micro‑abrasions, which may allow bacteria to enter the skin and contribute to infection. Regular cleaning and maintenance are therefore essential for both infection control and patient safety.
Watch our video on how to clean and disinfect clipper blades.
Razor blades and handles
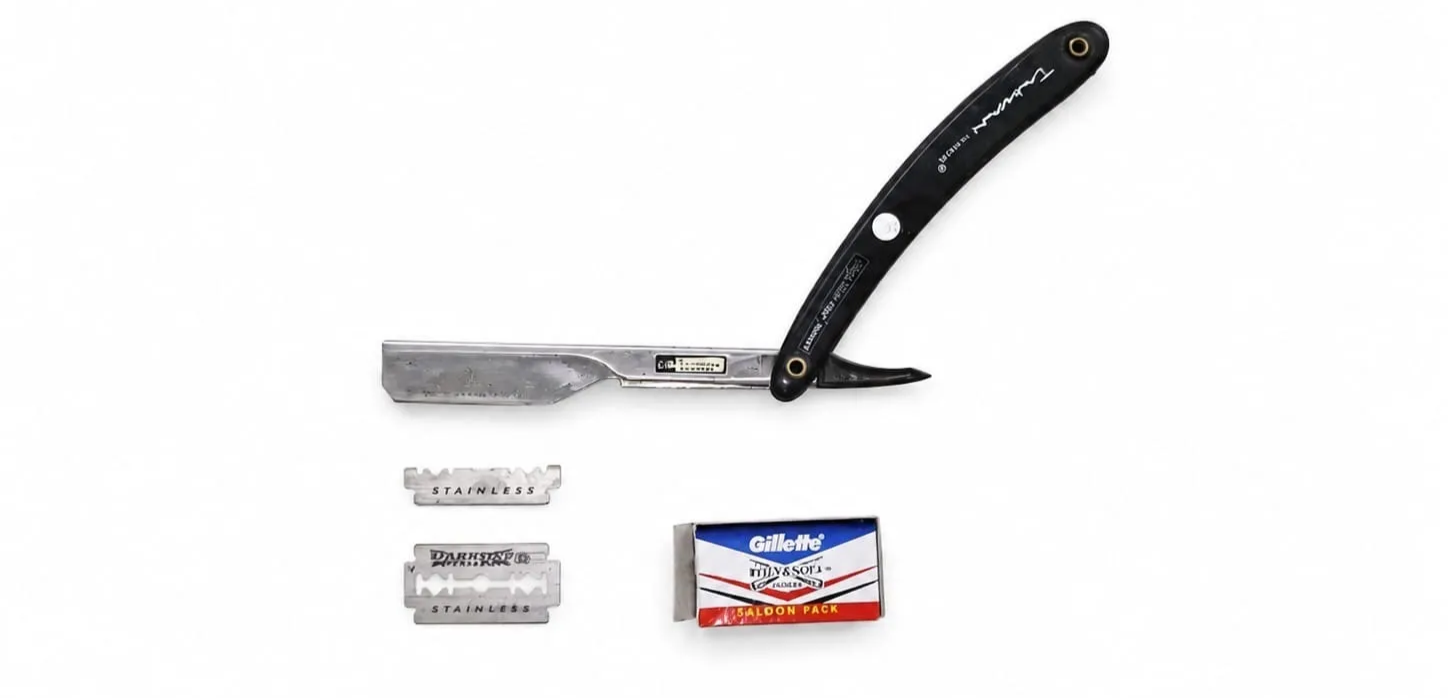
Razor blades and razor handles also carry a high likelihood of contamination due to contact with skin, blood and other biological material. Disposable blades should always be replaced after each patient. Reusing blades significantly increases the risk of cross-contamination and potential infection.
The equipment used to hold the blades, such as handles, forceps, or blade holders, must be properly cleaned between patients.
Recommended good practice:
- Clean thoroughly with a detergent to remove all visible debris and organic material
- Disinfect using 70% isopropyl alcohol or another suitable disinfectant
- Dry completely to prevent rust, corrosion and microbial growth
These instruments may also be washed in warm water with detergent, but thorough drying is essential before reuse to prevent corrosion.
Thermometers
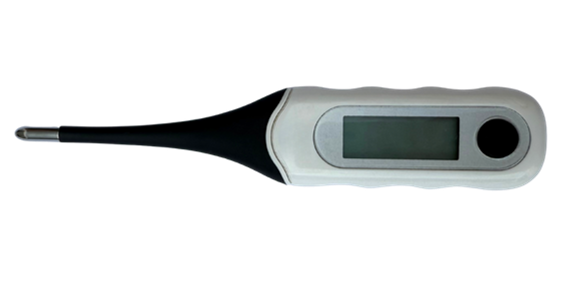
Thermometers are considered high-risk equipment because they come into direct contact with mucous membranes and may be exposed to faeces or other bodily fluids. As they are used repeatedly across different patients, the risk of cross-contamination is significant if proper cleaning is not carried out.
Recommended good practice:
- Thermometers should be cleaned and disinfected after every use
- Visible contamination (e.g. faeces) must be removed first using disposable material such as cotton wool or paper towel
- The thermometer should then be thoroughly wiped using 70% isopropyl alcohol, or another suitable disinfectant, ensuring full coverage of all contact surfaces
- Allow the thermometer to air-dry completely before using it on another patient
Stethoscopes
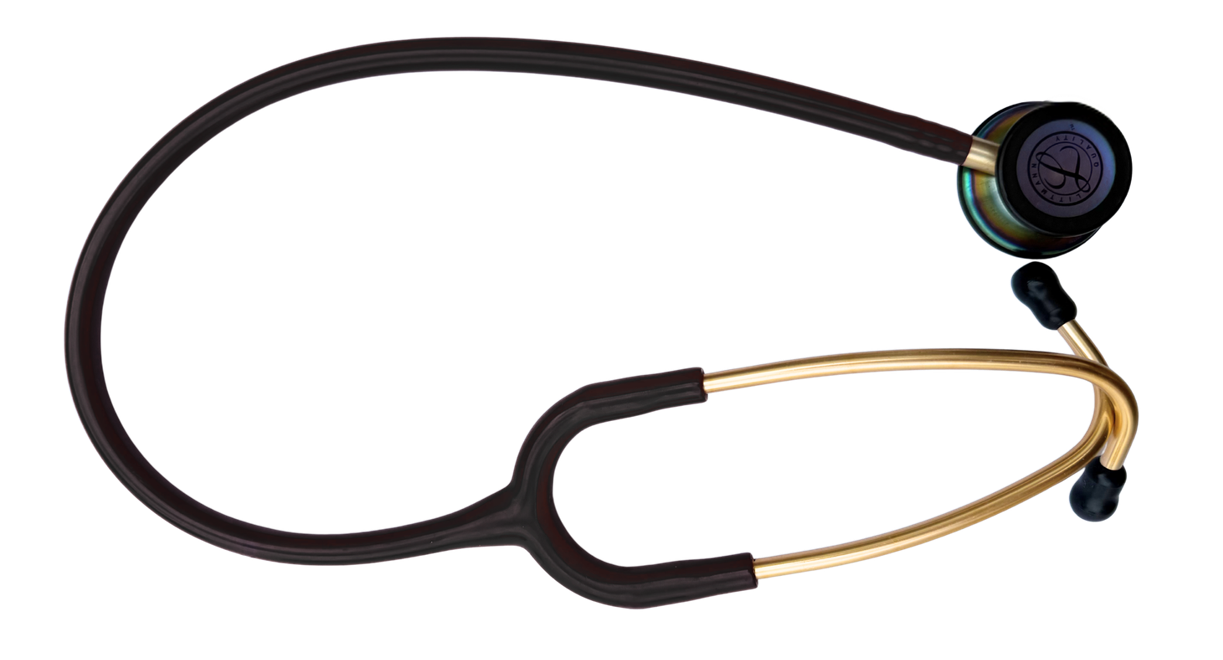
Stethoscopes are handled frequently and used across multiple patients, making them a common, but often overlooked, source of contamination. They can transfer pathogens between animals and also between staff members.
Particular attention should be paid to the diaphragm (patient contact area) and the earpieces, both of which are especially likely to harbour microorganisms if not cleaned regularly.
Recommended good practice:
- Clean and disinfect regularly, ideally between each patient
- Always disinfect after contact with wounds or secretions, and after use with high-risk cases
- Ensure both patient-contact surfaces and earpieces are included in cleaning
Routine cleaning helps reduce both patient-to-patient and human-to-human transmission risks.
Otoscopes
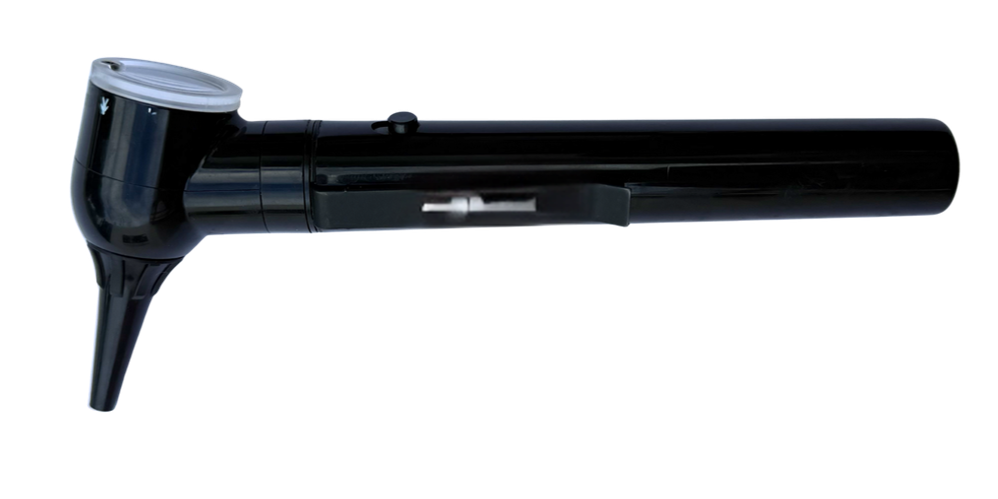
Otoscopes are frequently used to examine ear canals, which may contain wax, discharge, parasites, bacteria, or yeast. This makes them a contamination risk if not cleaned thoroughly between patients, particularly the speculum, where wax, debris and secretions often accumulate inside the tip and along the internal barrel.
Even small amounts of residual organic material (e.g. wax) inside the speculum can protect pathogens and contribute to cross-contamination if not properly removed. Proper cleaning is essential to prevent the transfer of infectious material between patients.
Recommended good practice
Specula:
- Initial cleaning
- Wash using warm water and a mild detergent. Soaking may be helpful to loosen debris.
- Use a small brush (e.g. a bottle brush or pipe cleaner) to clean the internal surfaces, especially the narrow tip where debris commonly accumulates.
- Rinse thoroughly to remove all detergent residue before disinfection.
- Disinfect
- Immerse or thoroughly wipe with an appropriate disinfectant (e.g. chlorhexidine solution or 70% isopropyl alcohol).
- Ensure complete coverage, including the internal chamber.
- Follow manufacturer-recommended contact time.
- Rinse if required. Follow the manufacturer guidance where applicable.
- Dry completely
- Dry completely to prevent microbial growth and avoid corrosion.
- Air‑dry in a clean area or dry manually with paper towels.
- Inspect before reuse
- Ensure no wax, residue, or moisture remains inside the lumen before reuse.
- Any damage, rough edges, or internal scratches should be noted, as these can trap material and reduce effective cleaning. In these cases you should consider replacing the speculum.
Otoscope head and handle:
- Wipe with detergent and disinfectant between patients.
- Pay attention to frequently handled areas such as the collar where the speculum attaches, finger grip areas and buttons or switches.
- Avoid soaking or overly wetting the head to prevent damage to light and electrical components.
- Ensure it is completely dry before the next use.
Non‑sterile scissors and forceps
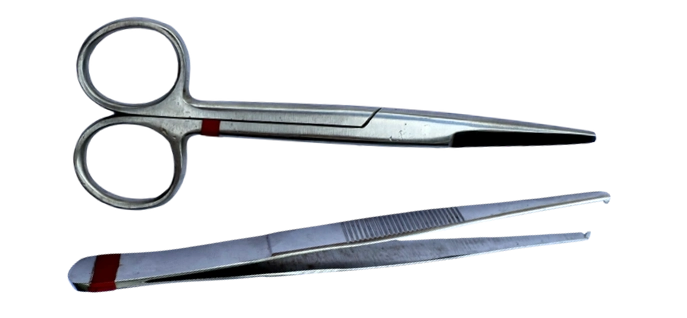
Non‑sterile instruments such as scissors, forceps, and tweezers are used frequently throughout the day and often come into contact with wounds, bandages, or contaminated materials. They can act as fomites, transferring microorganisms between patients, if not correctly cleaned. This is also important when instruments are used to remove parasites such as ticks, as parasites themselves may carry infectious agents.
Recommended good practice:
- Remove all debris and organic material using detergent
- Disinfect with 70% isopropyl alcohol or another suitable disinfectant
- Dry thoroughly to prevent corrosion and reduce microbial survival
Regular inspection is also important. Damaged, rusted, or worn instruments are more difficult to clean effectively and should be repaired or replaced as needed.
These instruments may also be washed in warm water with detergent, but thorough drying is essential before reuse to prevent corrosion.
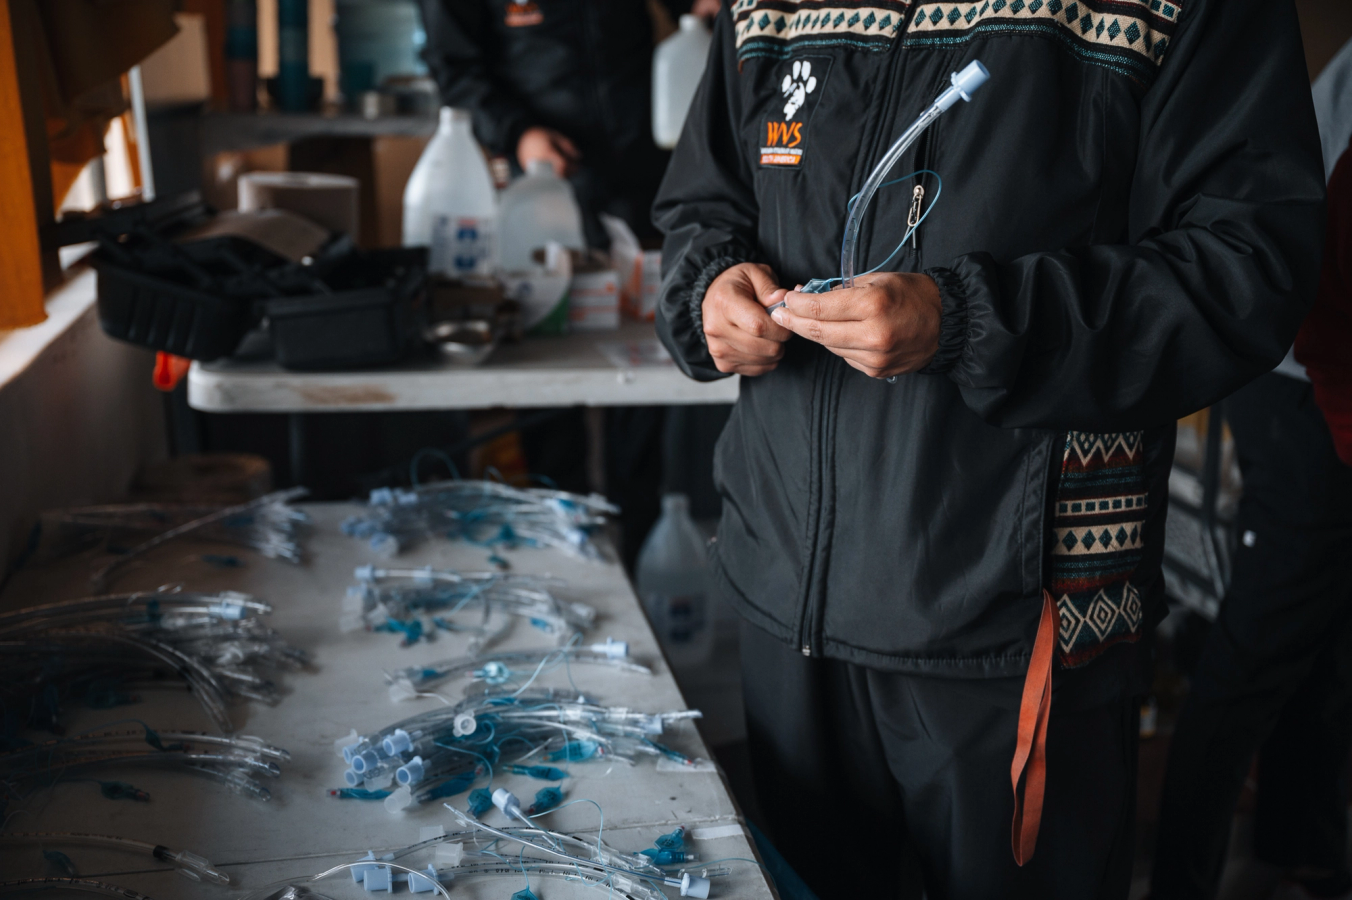
Endotracheal tube cleaning recommendations
Improperly cleaned or stored endotracheal (ET) tubes pose a significant risk of animal-to-animal, and environment-to-animal transmission of infectious agents. Residual organic material or microbial contamination on the tube can transmit pathogens to the next patient, leading to infections or respiratory complications. Environment-to-animal transmission can occur when contaminated tubes are stored in damp or unclean environments, allowing pathogens to multiply and be introduced into the animal when the tube is used.
In principle, ET tubes should be cleaned with a suitable detergent to remove organic material before a separate disinfectant is applied. In practice, many veterinary clinics use a single cleaning or disinfectant solution for soaking and scrubbing. There is currently limited evidence evaluating different protocols for ET tube cleaning, and whether this one-step approach is significantly less effective than a two-step method. This guidance therefore focuses on practical measures that can improve cleaning and disinfection when using the products and facilities available.
Cleaning/ disinfectant solutions
Because ET tubes come into direct contact with the animal’s mucous membranes, it is essential to select cleaning and disinfectant solutions which do not cause irritation or damage to delicate tissues. These products differ from those used for surface disinfection. Due to their exposure to bodily fluids such as saliva, mucus, and blood, ET tubes must not be cleaned with water alone, as this is insufficient for proper decontamination.
Some examples of products that can be used to clean/disinfect ET tubes include:
- Chlorhexidine solution
- Enzymatic cleaner
- Chlorine tablets or sterilising fluid (e.g. Milton, Anigene)
To further reduce the risk of irritation or material damage, it is also vital that cleaning/disinfectant products are properly diluted according to the manufacturer’s instructions. Dilution rates will vary depending on the specific product and formulation used, so always refer to the product label.
Regardless of the product used, it is crucial that all cleaning agents are thoroughly rinsed off after use. Residual chemicals can cause skin or mucosal irritation, particularly in sensitive areas such as the trachea.
If no specialised cleaning products are available, mild, fragrance-free detergent (such as dish soap) may be used as a last resort to aid in the removal of organic material. However, detergent alone does not provide adequate disinfection, so this approach should only be temporary until appropriate disinfectants can be accessed. Thorough rinsing is essential to ensure any chemical residue is removed.
Recommended good practice:
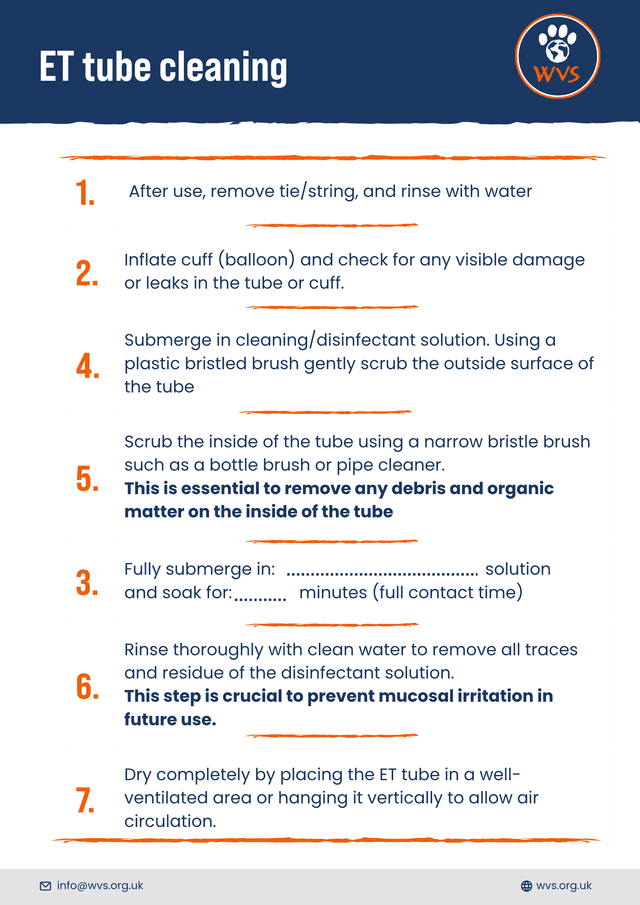
- After use, remove the tie/string and rinse the tube with water.
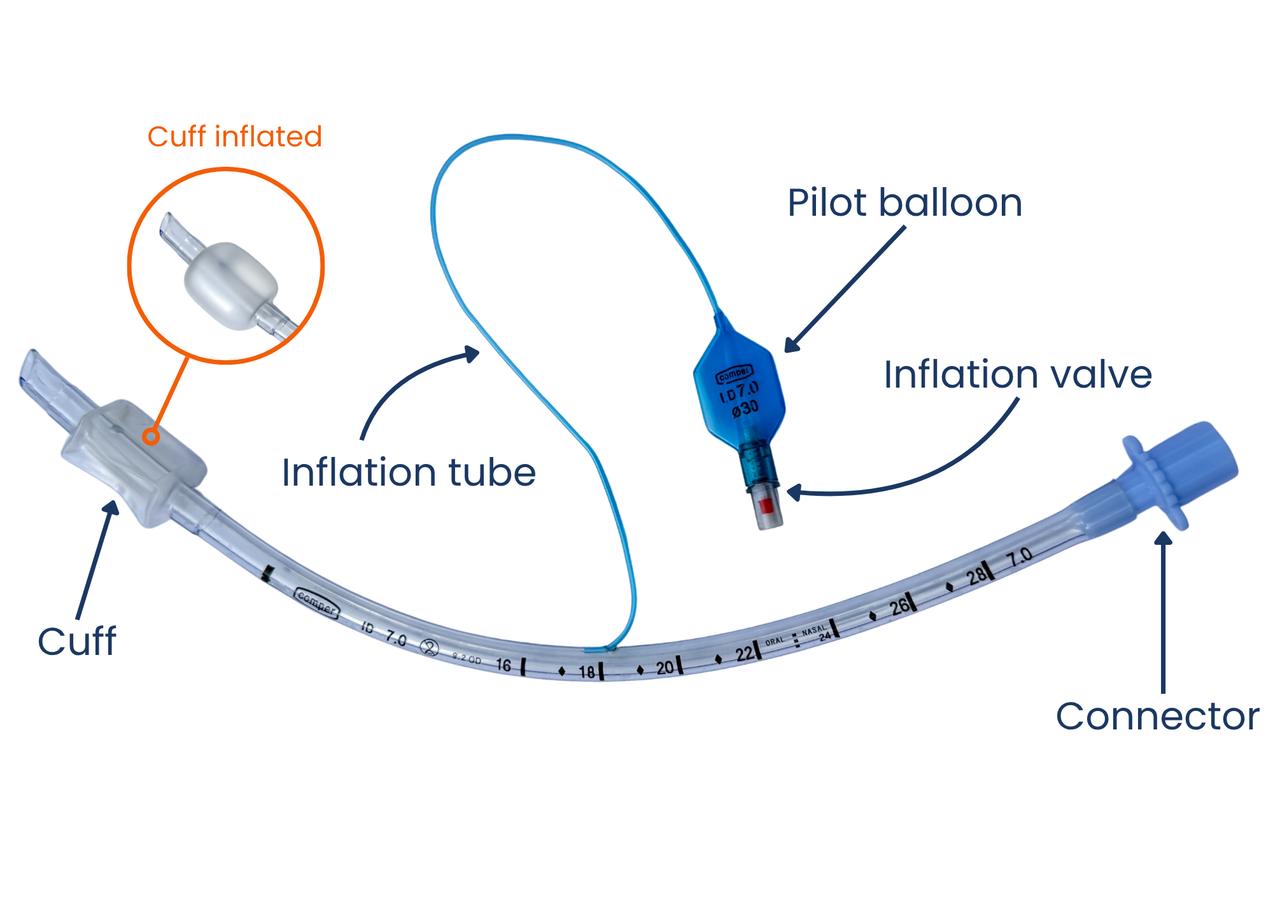
- Inflate the cuff (balloon) and check for any visible damage and cuff leaks.
- Fully submerge in correctly diluted cleaning/disinfectant solution.
- Using a plastic-bristled brush, gently scrub the outside surface of the tube, ensuring all organic matter is removed. Scrub the inside of the tube using a narrow-bristled brush such as a bottle brush or pipe cleaner. This is essential to remove any debris and organic matter on the inside of the tube.
- Allow to soak for the correct contact time.
- Rinse thoroughly with clean water to remove all traces and residue of the disinfectant solution. This step is crucial to prevent mucosal irritation in future use.
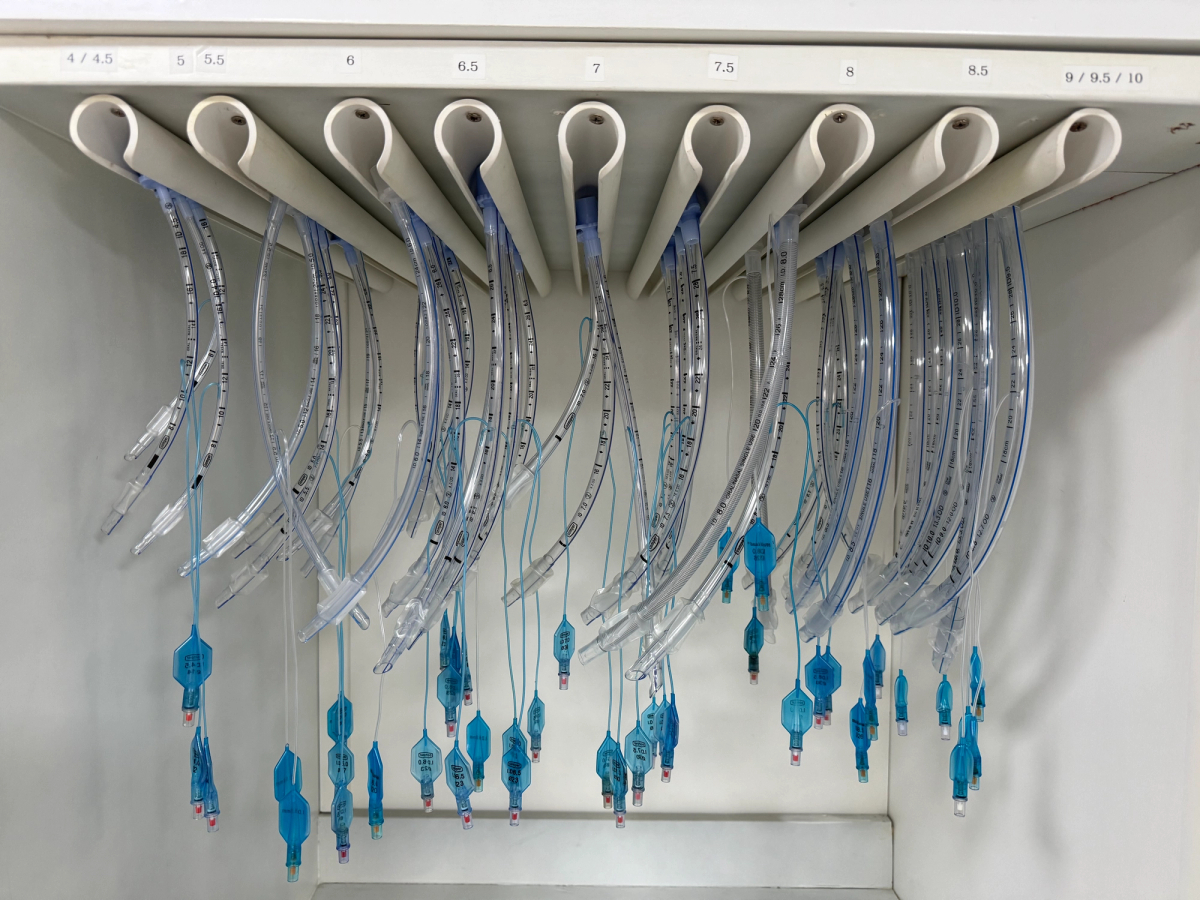
- Dry completely by placing the ET tube in a well-ventilated area or hanging it vertically to allow air circulation.
Storage and drying
ET tubes must be stored in a manner that facilitates complete drying after cleaning. Moisture trapped inside or on the surface of the tube creates an ideal environment for the growth of mould and bacteria, increasing the risk of disease transmission.
To minimise this risk, ET tubes should be stored in a well-ventilated area, preferably hung vertically or placed on racks that allow air circulation around the entire tube. Avoid sealed or enclosed containers which can trap moisture, promoting microbial growth.
Checking tube integrity
ET tubes should be regularly checked and assessed for damage. To check the cuff, inflate with air and inspect for any leaks, tears, or damage that might compromise the tube’s ability to maintain an effective airway seal during anaesthesia. Pay particular attention to the point where the inflation tube connects to the ET tube, as this area is prone to damage, which may cause cuff leaks and allow water/cleaning solution to enter the tube. If left unnoticed, this can lead to mould growth within the cuff. Inflating the cuff before cleaning also helps expose external surfaces of the tube, facilitating better cleaning. Tubes that are damaged or show signs of degradation (e.g. discolouration, holes, tears or damage to the cuff or inflation tube) should be discarded and replaced to prevent complications.