

Now that the major organs have been removed from the carcass, we shall start to examine them individually in more detail, beginning with the thoracic (chest) cavity.
The 'pluck'
Let's revise the organs associated with the pluck:
These are not the only important structures that can be seen.
Thyroid glands
Oesophagus
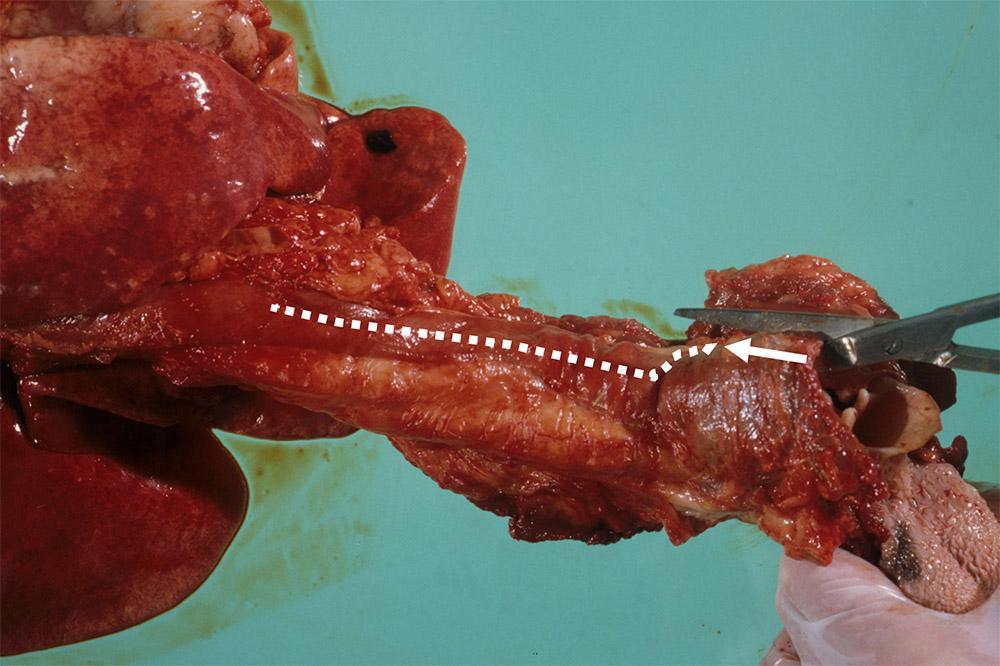
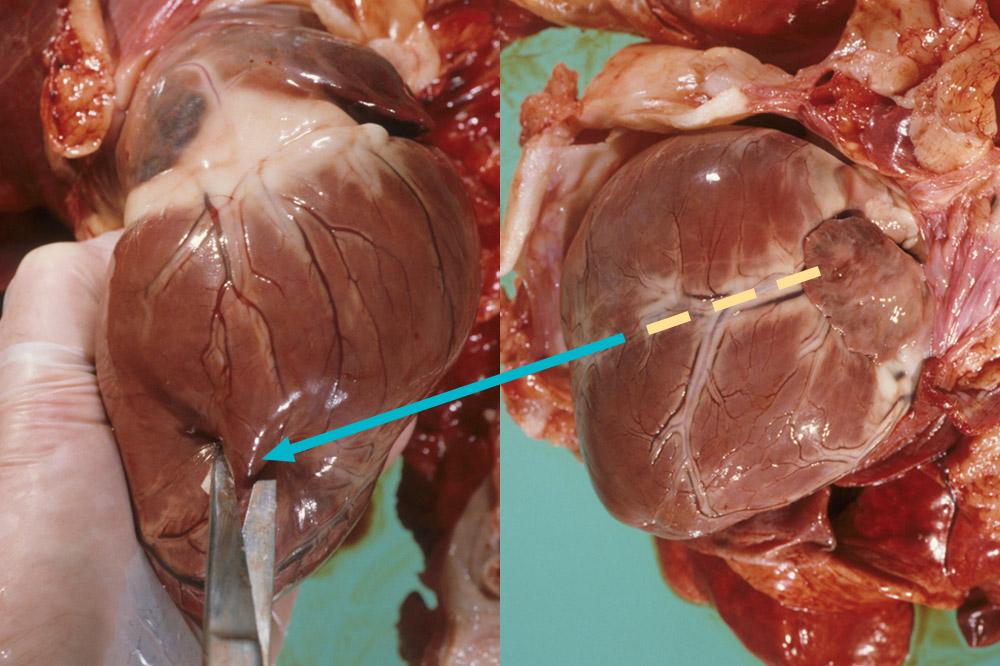
If the oesophagus has been removed with the heart and lungs, begin by opening the oesophagus. Place the scissors in the oesophagus at the level of the larynx, as shown by the arrow and dotted line, and cut along its length (Figure 1).
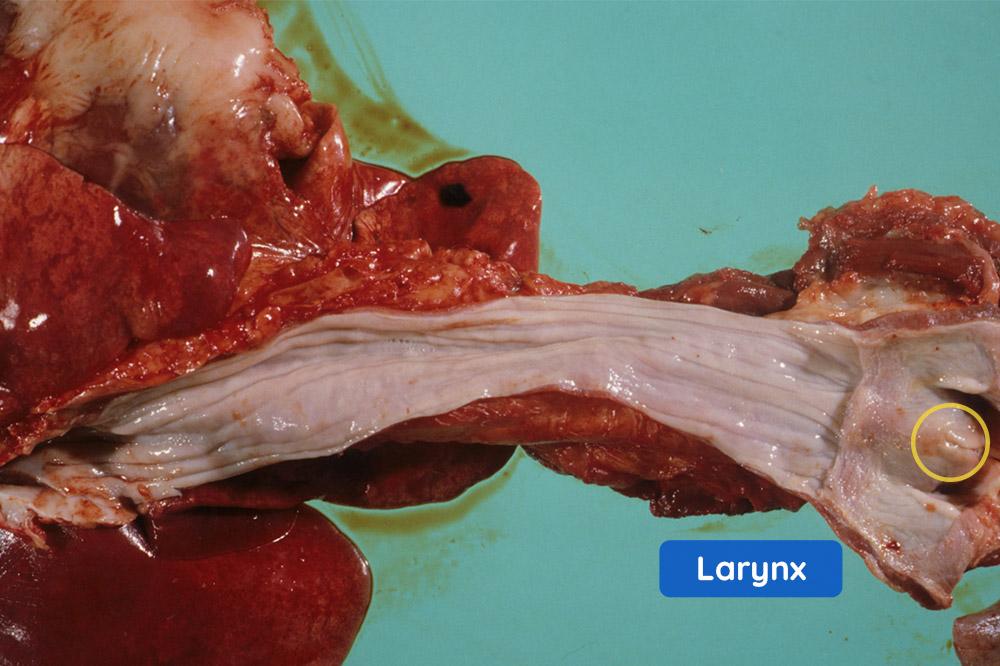
The normal mucosa of the oesophagus is 'grey' in colour. The mucosal surface is ridged, longitudinally. The larynx is also fully exposed (Figure 2).
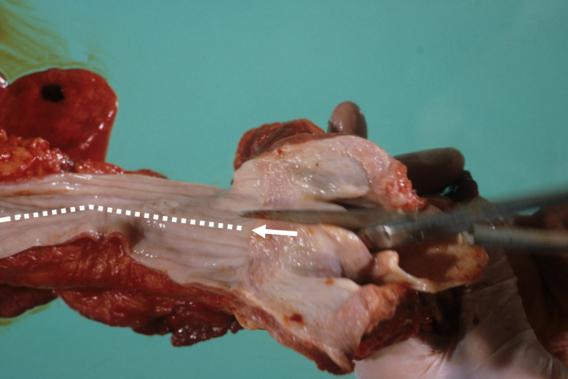
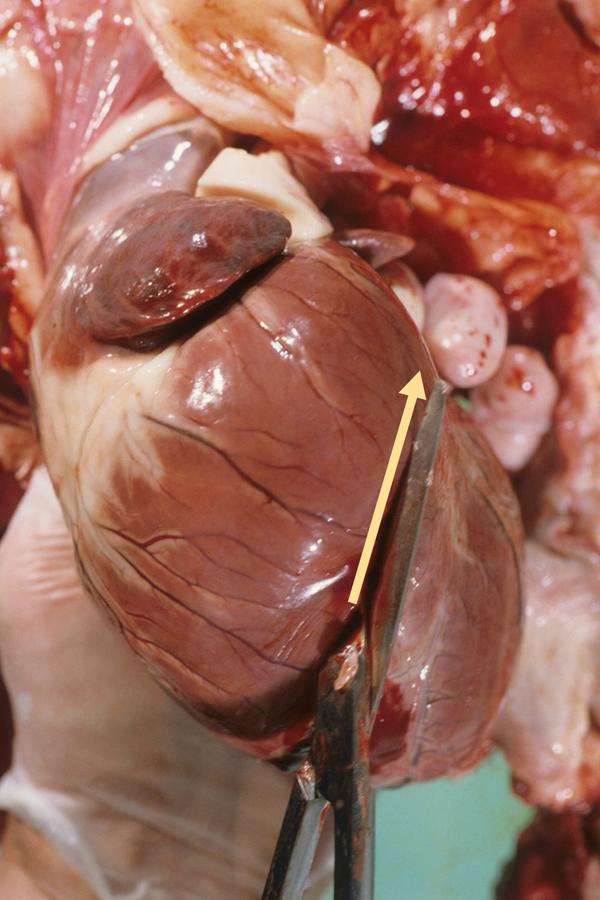
To examine the trachea and lungs, insert the scissors into the larynx, cutting along the dorsal aspect of the trachea, through the oesophag, as shown by the arrow and dotted line below (Figure 3).
Trachea
Now that we have exposed the trachea, let's look at it in more detail.
Lung
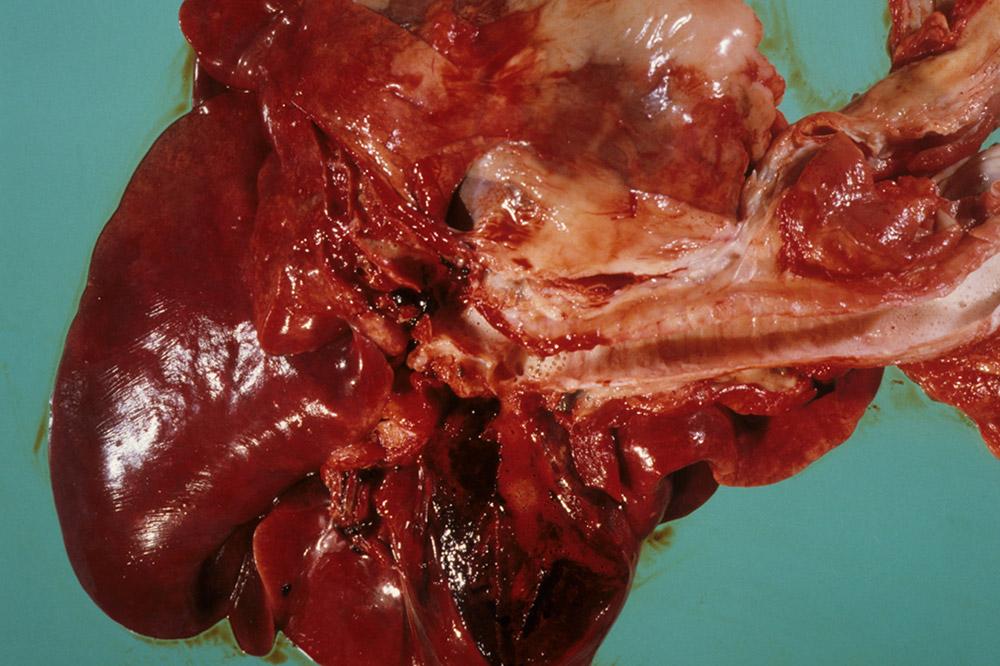
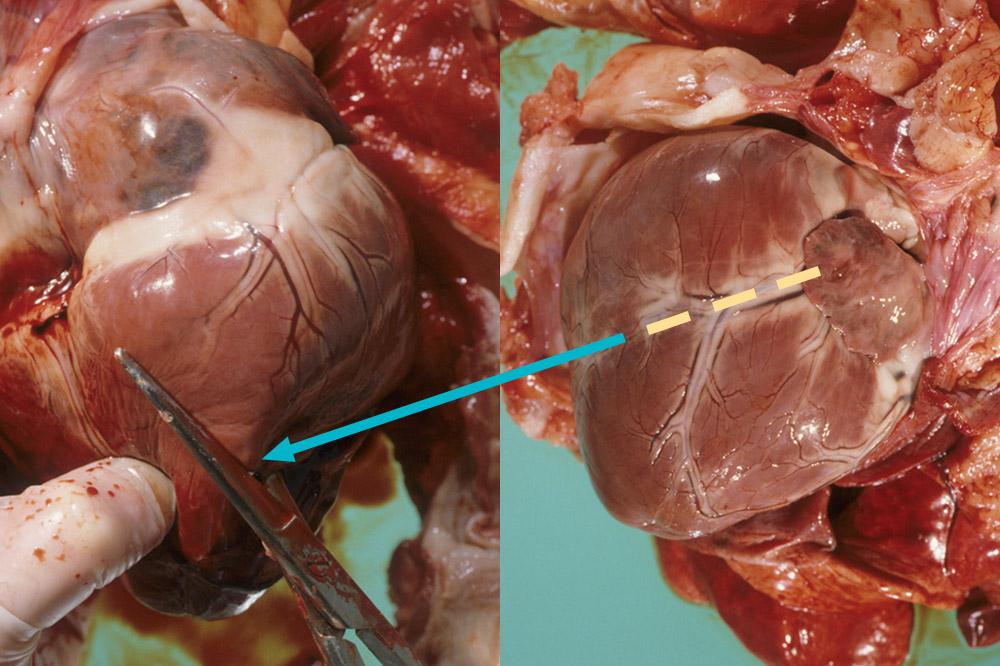
Continue cutting along the length of the trachea to the bifurcation, where the trachea splits into the left and right bronchus. Then cut along both bronchi and through adjacent lung tissue.
Once the bronchi are opened, further cuts may be made in the lung, as necessary, to examine the parenchyma (Figure 4).
Remember to check each lung lobe; palpate (feel) each one in turn to assess consistency. Can you detect any firm areas? If so, do all the lungs feel firm, or just one area?
Firm areas suggest a cellular infiltration; for example, inflammatory or neoplastic cells, which will cause the lung tissue to be heavier. Remember: lungs should float in water due to the alveoli containing air. You can check by placing some lung in water and watching if it floats or sinks.
Look at the colour too and describe this in your findings.
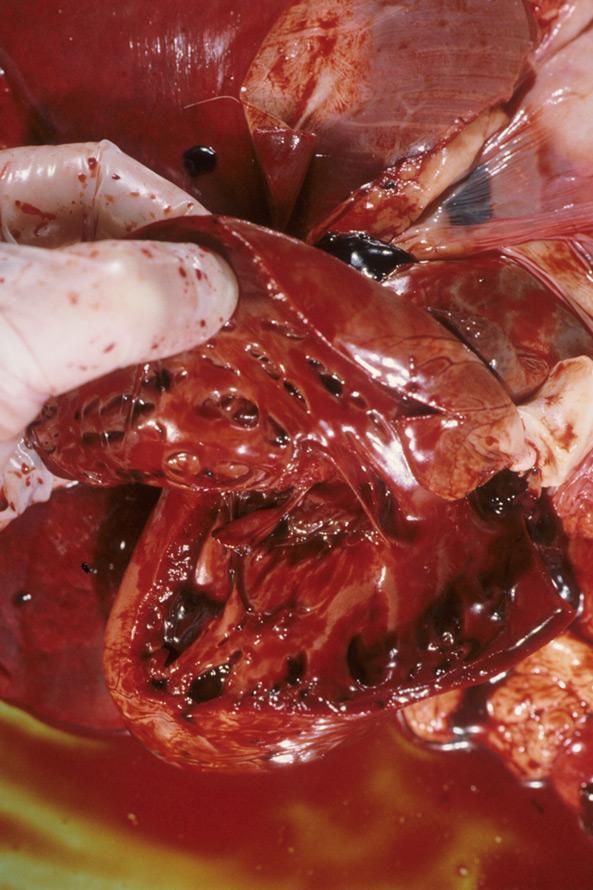
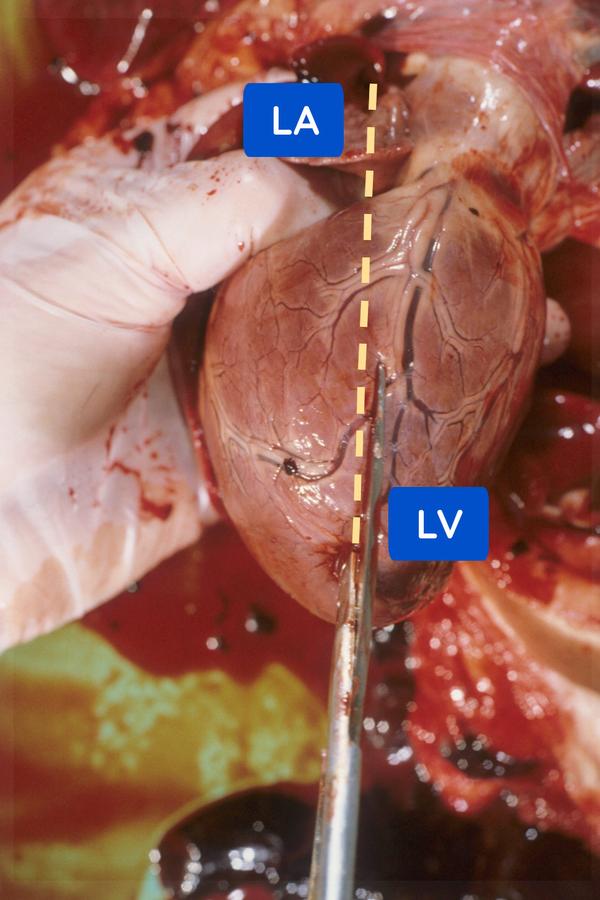
Heart
The heart shall now be examined.
Let's carry on with our examination of the heart.
Holding the heart as shown (left ventricle held in the left hand in this image), make an incision with the scissors through the wall of the right ventricle, at the point shown by the blue arrow (Figure 5).
Now cut through the wall of the right ventricle, to the right, as shown by the yellow arrow, separating it from the intact, left ventricle (Figure 6).
Returning to the initial incision point, cut through the right ventricular wall to the left, again separating it from the intact, left ventricle (Figure 7).
This leaves a 'flap' of the right ventricular wall to examine the inner surface. The left ventricle is intact (Figure 8).
Examine the right AV valve (tricuspid valve). Note the chordae tendineae (Figure 9).
Now cut into the right atrium (not shown)

To examine the left ventricle, turn the heart over, make an incision in the apex of the left ventricle, and follow the yellow line, as shown, into the left atrium (Figure 10).
Next, cut through the left AV valve, as shown here (Figure 11):
Figure 11
Now that we have examined the thoracic organs, we can move on the the abdominal cavity in the next section.